How to Polish Concrete Countertops
Mastering how to grind and polish concrete countertops is critical to any project’s successful completion.
Concrete is a mixture of cement, rock aggregate, sand, and water. Cement by itself is very brittle, but when rocks and sand are added, a matrix is formed that strengthens the mix. The cement is like the glue, and it fills in the small space between the aggregate and sand. This makes concrete much stronger than cement on it’s own. Because the rock aggregate in concrete mixes are quarried regionally, the types of rocks you see will be different depending on where you are in the world. The concrete pieces in this guide are made from a 5000 psi. concrete mix produced with Northern California aggregate.
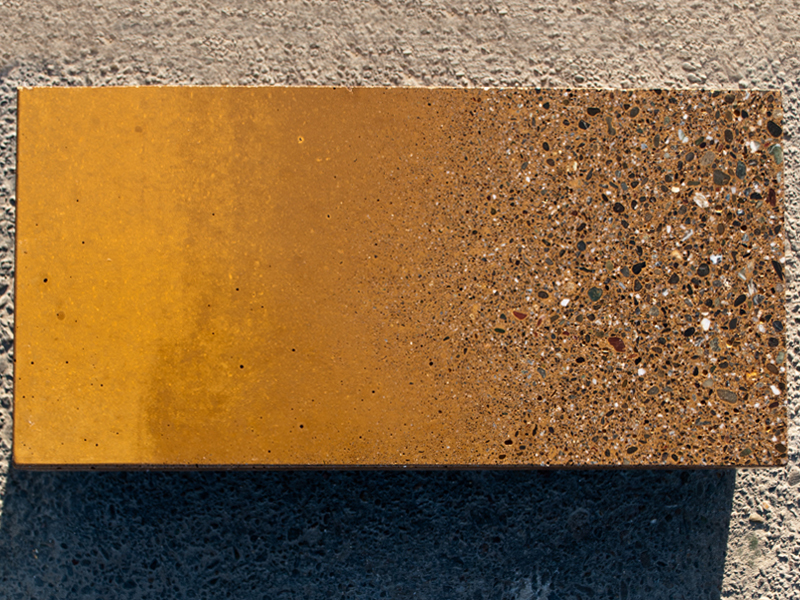
Normally when casting concrete, the cement paste forms a uniform layer on the surfaces of the piece, producing a piece that is one solid color with minor variations. This is referred to as a cast-finish. The cement layer can be removed with very light polishing. This will begin to expose the fine sand in the mix, called a light-polish. Deeper polishing will expose the rock aggregate and produce a ground-finish. Very little material needs to be removed to expose the aggregate and achieve a ground finish (about 1/16″).
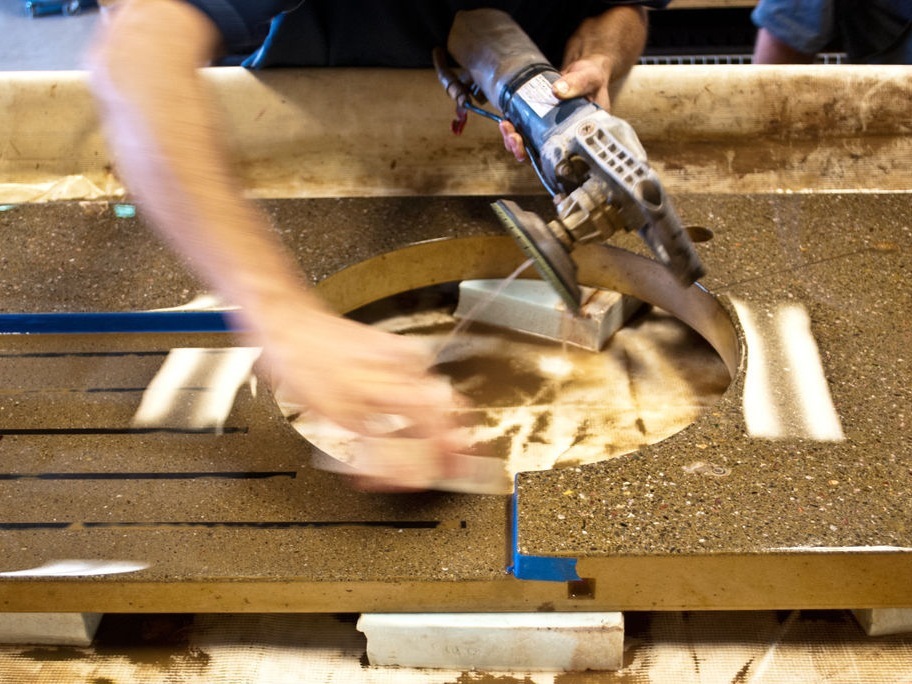
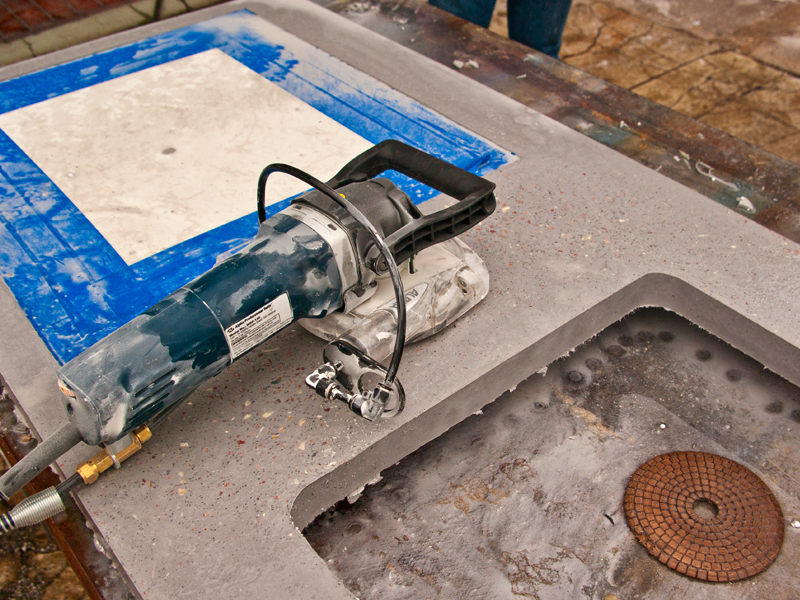
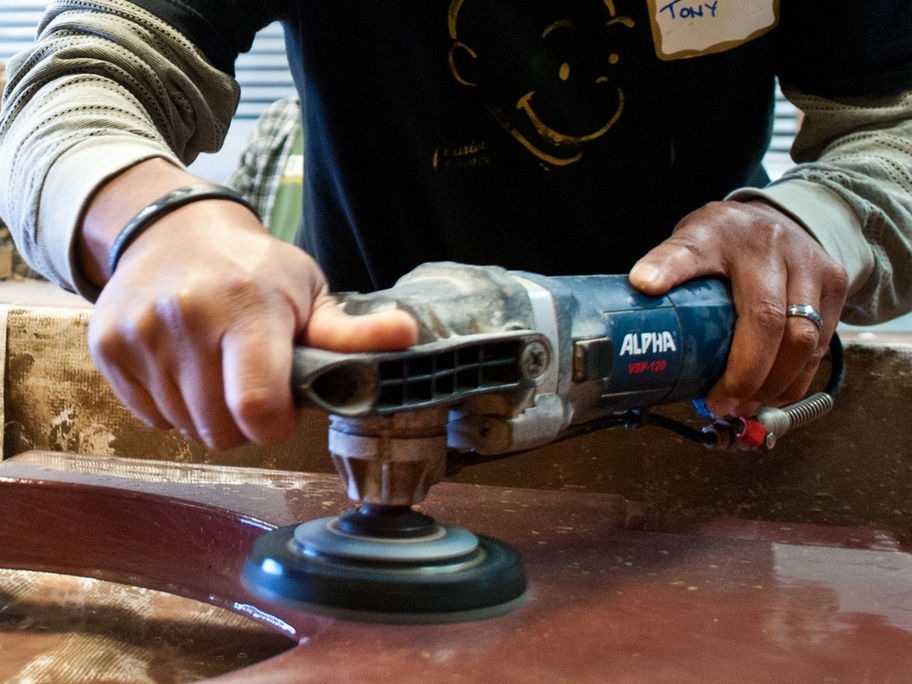
This guide will show you how to polish concrete countertops. There are a range of finishes possible from a single piece of concrete. Normally polishing is accomplished using a variable speed concrete polisher with a set of diamond sanding discs. The polisher is usually water fed and is attached to a normal garden spout. The water helps cool the pads down and also keeps dust to a minimum.
What You’ll Need To Polish Concrete Countertops
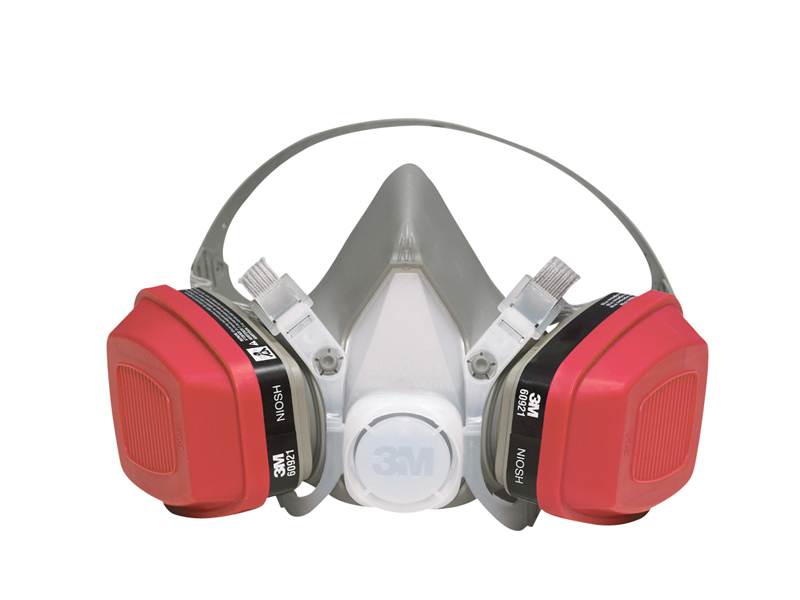
Step 1 – Safety Information
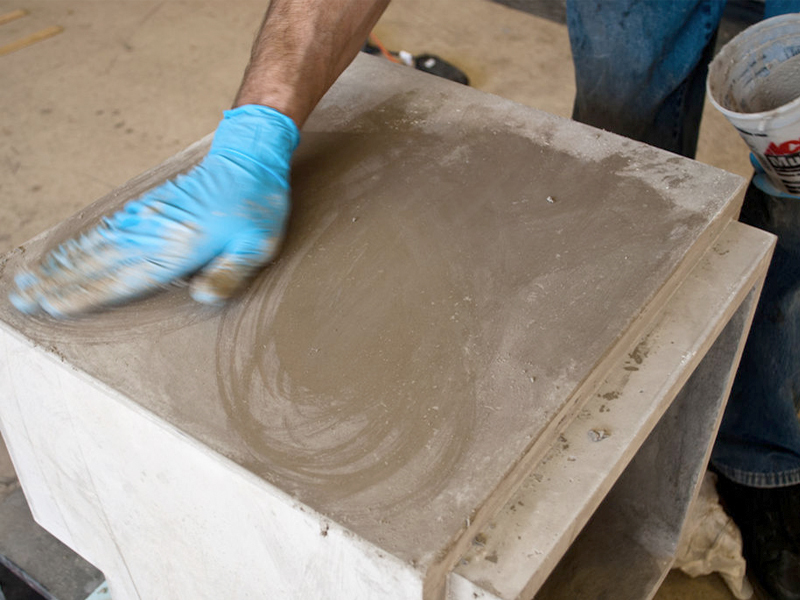
Step 2 – Cast Finish, Light Polish, Ground Finish
Step 3 – Grinding vs Polishing


Step 4 – Variable Speed Polisher
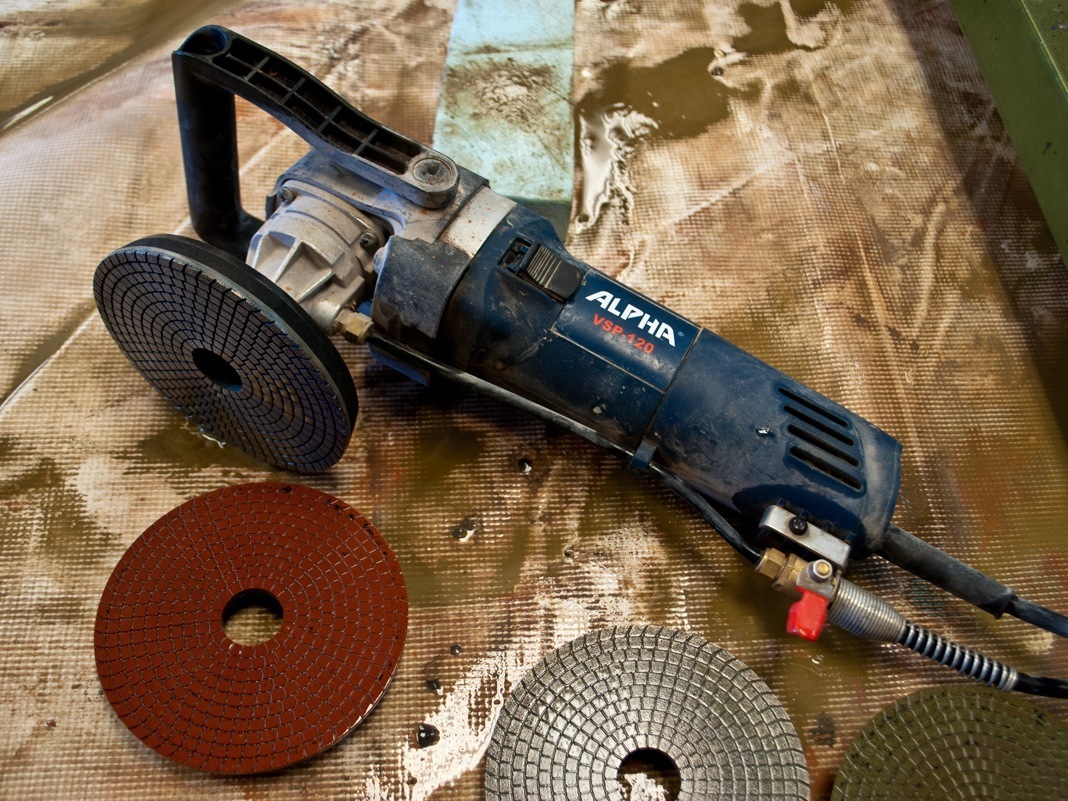
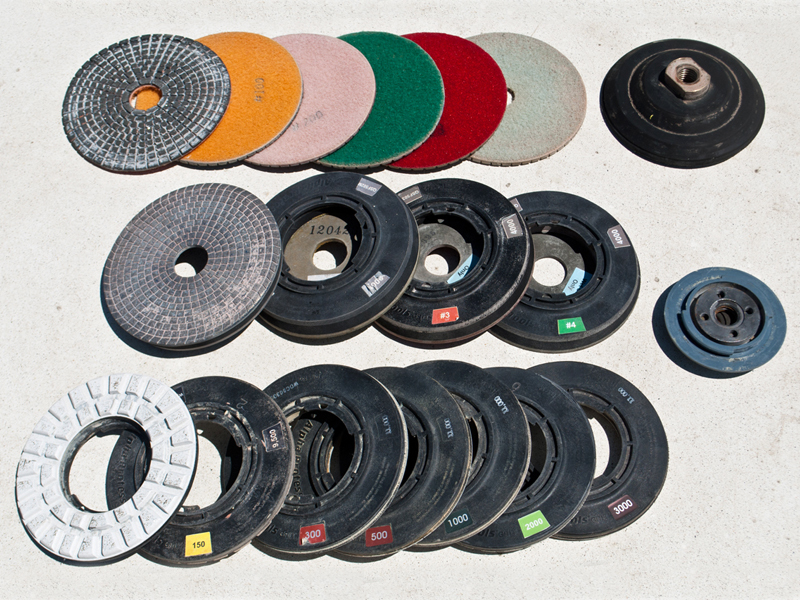
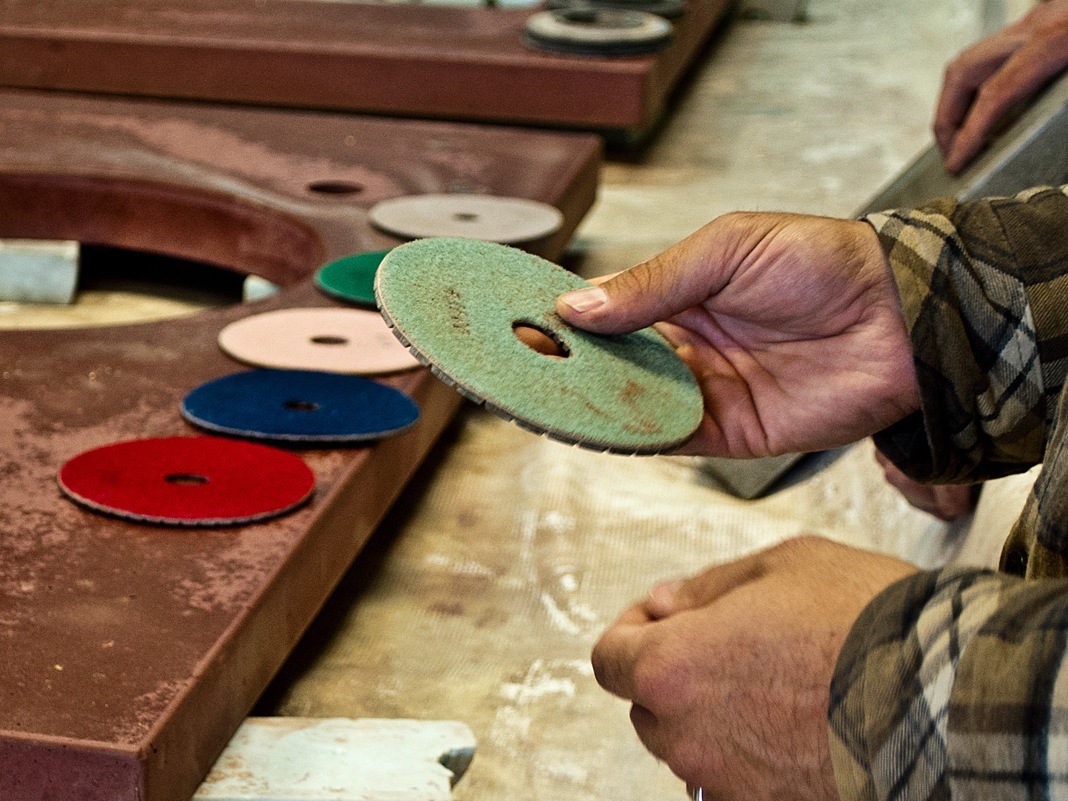
Step 5 – Types of Polishing Pads
Step 6 – Wet Polishing Preparation
Step 7 – Initial Polish
Step 8 – How to Polish
Step 9 – Fill Holes with Slurry
Step 10 – Final Polish