
Rhomba Concrete Bench
THREE: DEMOLDING
Carefully dismantle the form by removing all the drywall screws before extracting the concrete casting and take precautions to assure the form can be used for future castings. Try not to chip or scratch the form surfaces and never pry directly against the finished concrete surfaces.
What You’ll Need
Step 1 – Grind the Concrete Flush


Step 2 – Remove the Form Walls and Knockout


Step 3 – Sand and Finish


Previous: Casting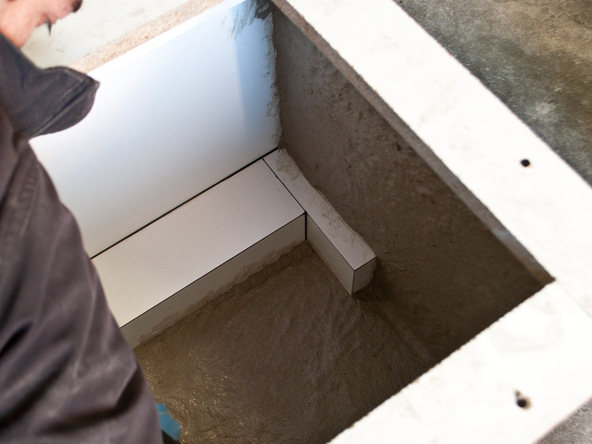
We prefer to hand place the fiber reinforced concrete mixture onto horizontal surfaces and allow a few minutes for the recently placed…
Next: Finishing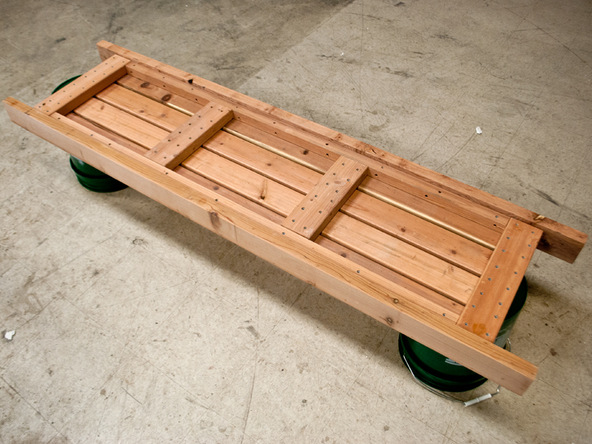
For our Rhomba Bench we decided to use cedar 2 x 4’s that were available at our local lumber yard and relatively affordable.