Quadra Fire Pit

ONE: FORMING

Step 1 – Create the Knockout

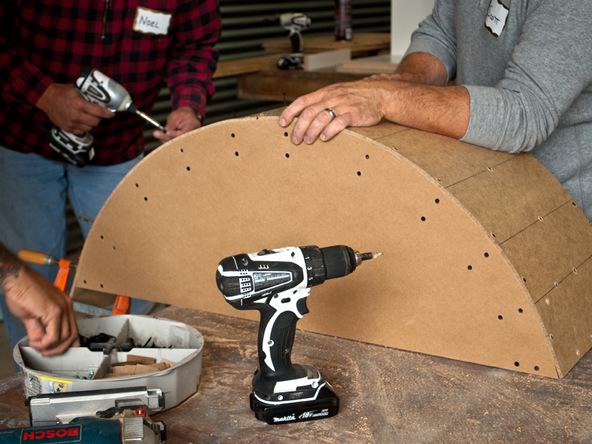
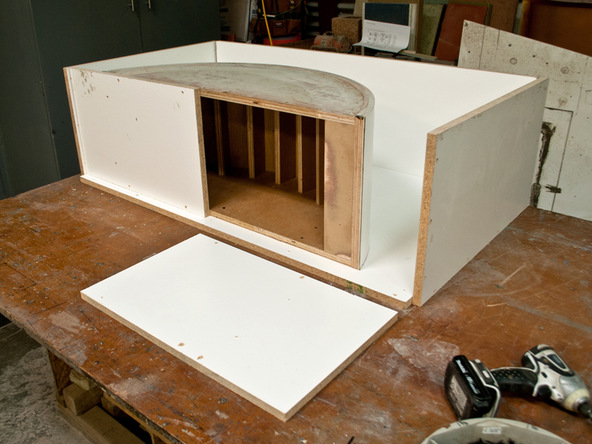
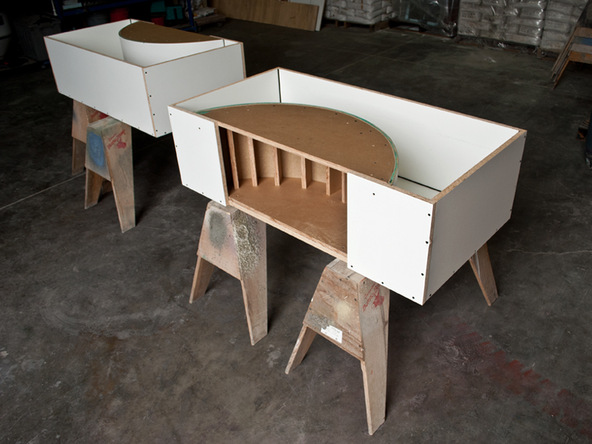
  • A semi-circle knockout creates the curved interior of the fire pit.
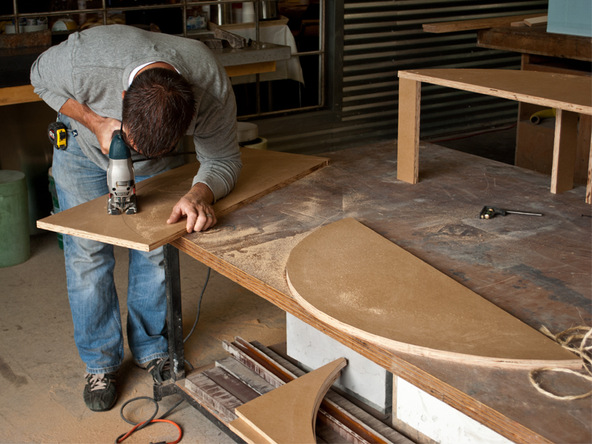
  • Trace the semi-circle onto the plywood and cut the shape out with a jigsaw.
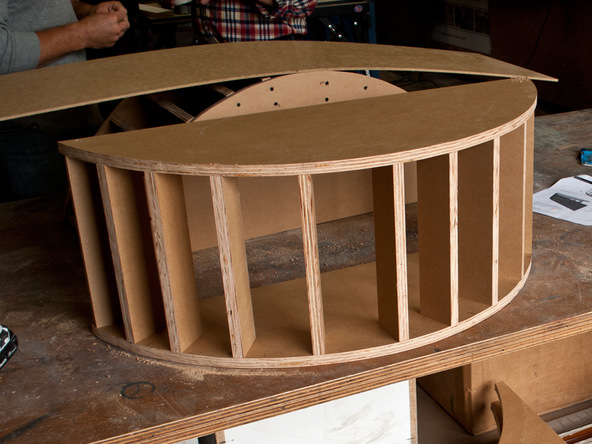
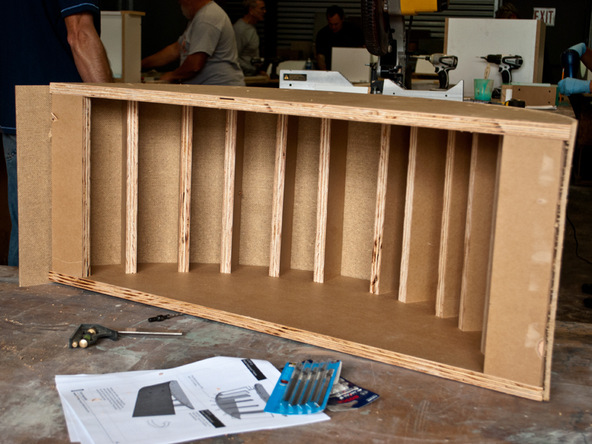
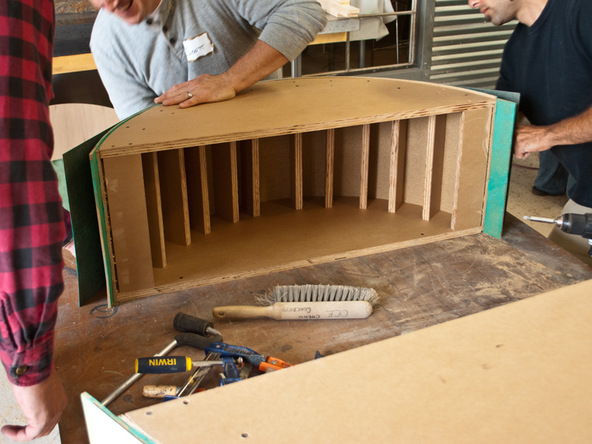
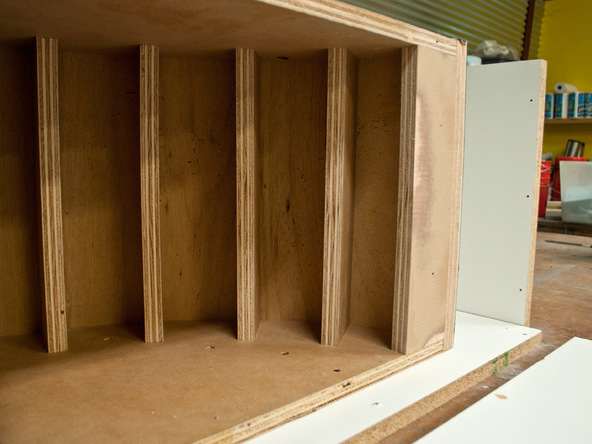
  • Cut out one piece for the top, and one for the bottom. Vertical slats are used to create a skeleton that will be faced with masonite and laminate.

Step 2 – Secure the Masonite Facing

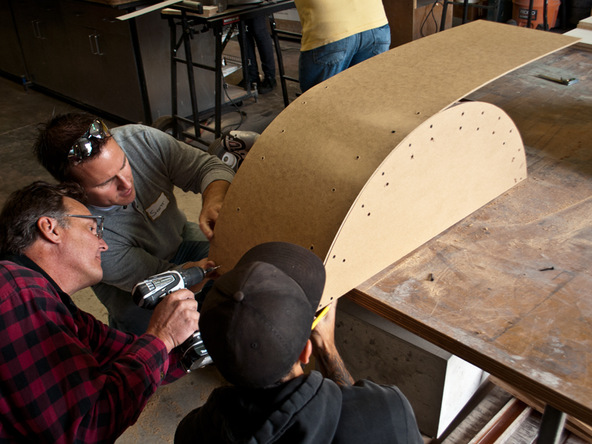
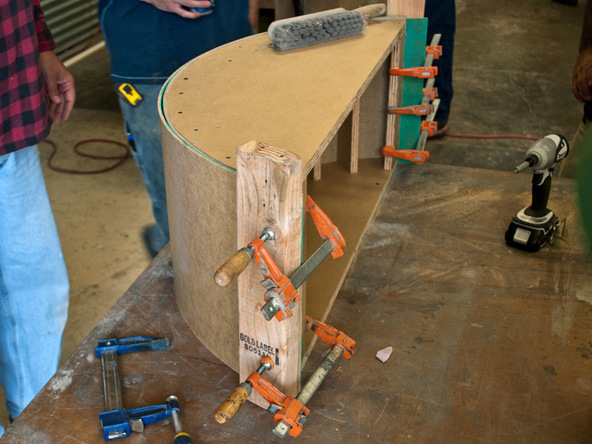
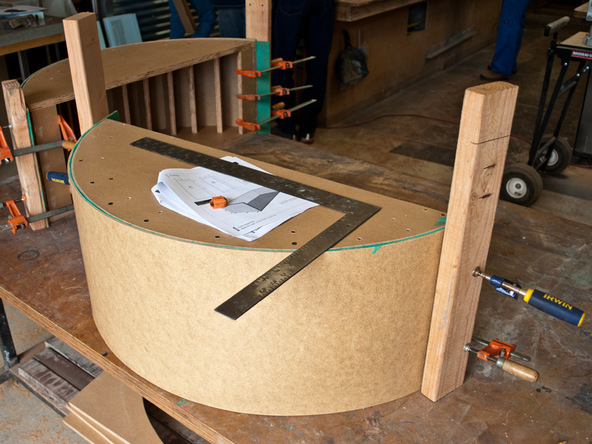
  • Begin to screw a layer of 1/8″ masonite to the vertical slats. Countersink the screws.
  • Trim the ends flush with a jigsaw after the masonite is secured.

Step 3 – Attach Masonite

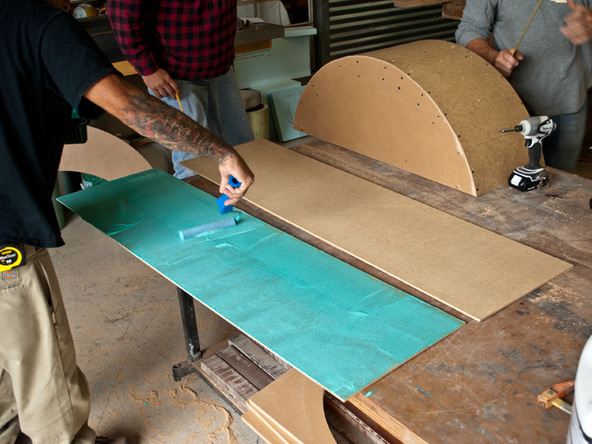
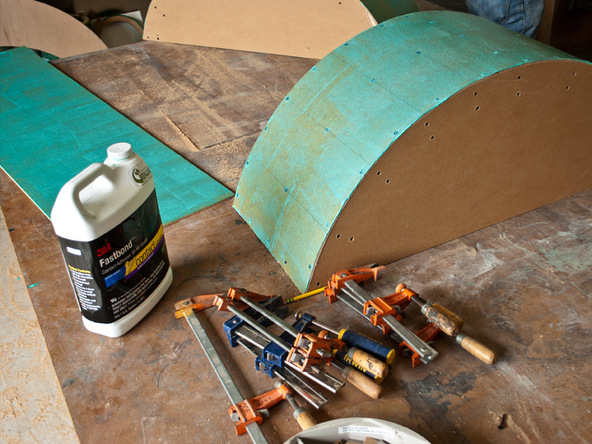
  • Attach a second layer of masonite using contact adhesive and clamps. This will cover any support screws from the first layer and provide a solid surface for the final layer
  • Trim the ends flush with a jig saw once the masonite has been secured using the contact adhesive.

Step 4 – Attach Casting Surface

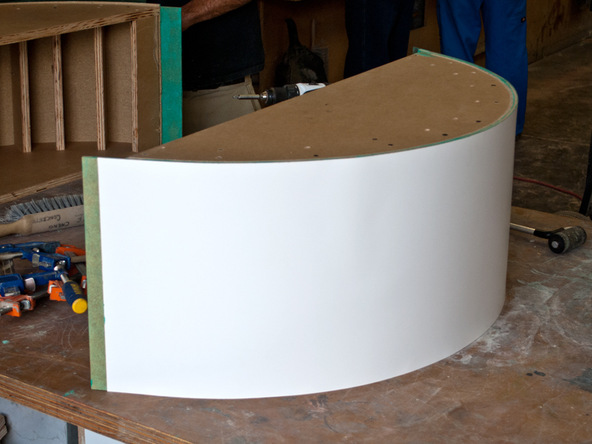
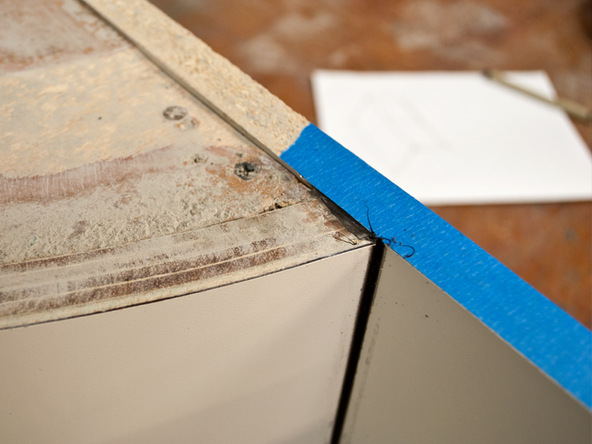
  • Use contact adhesive and clamps to glue on a final layer of melamine, plastic, or laminate.
  • Trim the last layer flush on both ends once secured with the contact adhesive.
  • This will be the casting surface, and any imperfections here will show in the finished piece.

Step 5 – Build a Box

  • Cut the baseboard to size and cut 5 wall sections.
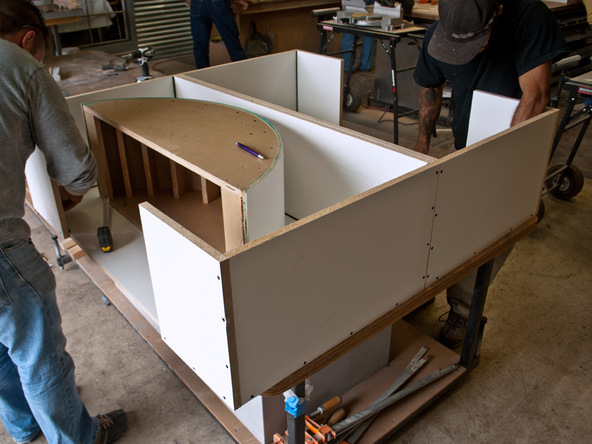
  • Mark the location of the knockout and assemble the wall sections opposite the knockout.

Step 6 – Secure the Knockout

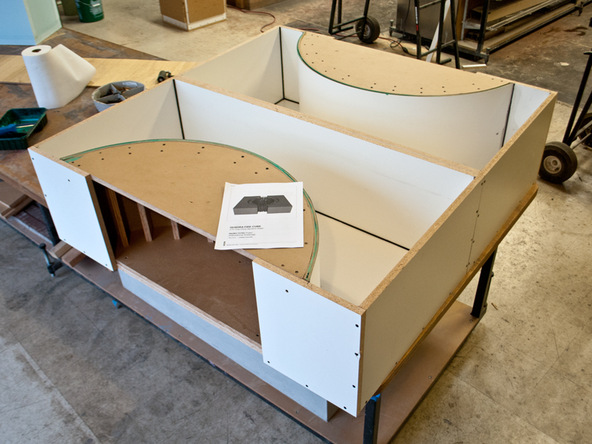
  • Screw the knockout in place, making sure it’s centered on the baseboard.
  • Install the remaining wall sections.
  • Clean the form with denatured alcohol before sealing it with silicone.

Step 7 – Seal the Form

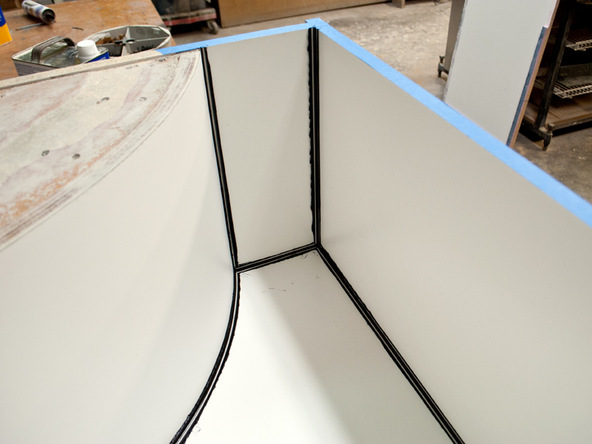
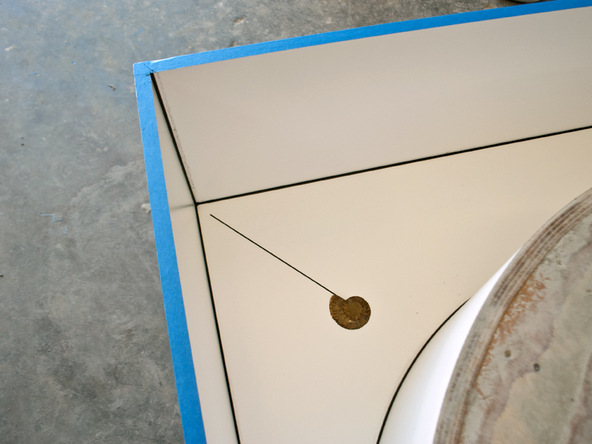
  • Caulk the edges of the form with 100% silicone.
  • Refer to the Corner and Seam Shaping Tools Guide for a step-by-step explanation.
  • After the form is sealed and the silicone has cured, it’s ready for casting.
Next: Casting

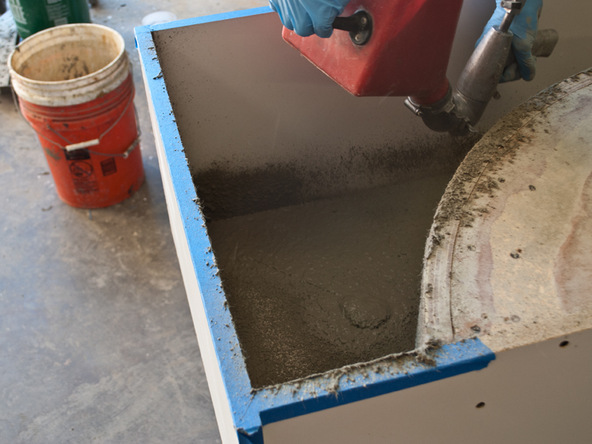
The high vertical layups require you to take your time and insure previous layups are firm enough to support the full wall thickness while casting.