
Precast Concrete Countertops
THREE: MIXING THE CONCRETE FOR PRECAST CONCRETE COUNTERTOPS
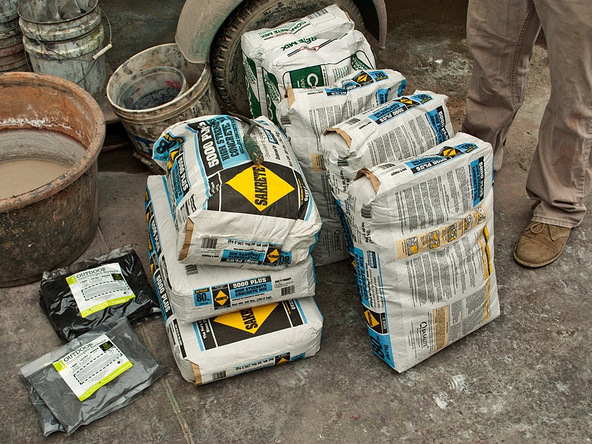
In this tutorial, you’ll learn how to mix concrete for precast concrete countertops using CX Precast Concrete Countertop Pro-Formula and Sakrete 5000 Plus Concrete from your local home improvement center.
CX Precast Concrete Countertop Pro-Formula transforms humble bags of concrete into a faster-curing, harder-setting, vibrantly-colored concrete.
What You’ll Need
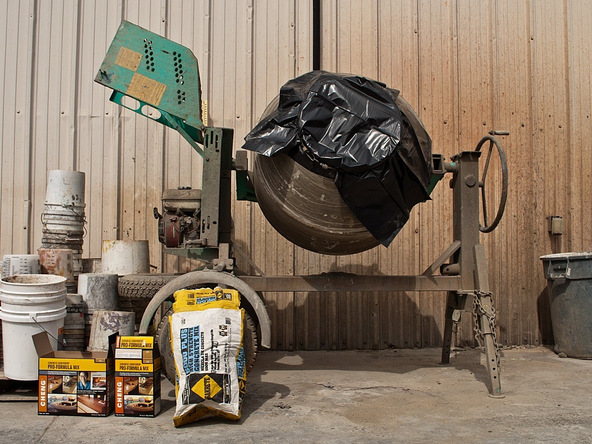
- Concrete Mixer
- Rubber Gloves
- Particle Mask
- A mix for precast concrete countertops like
CX Precast Concrete Countertop Pro-Formula - Sakrete 5000 Plus Concrete Mix
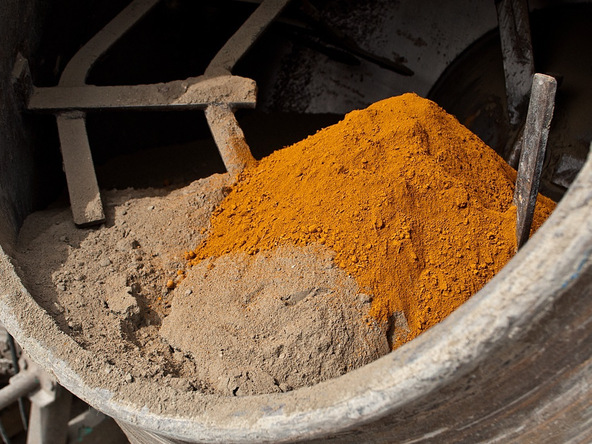
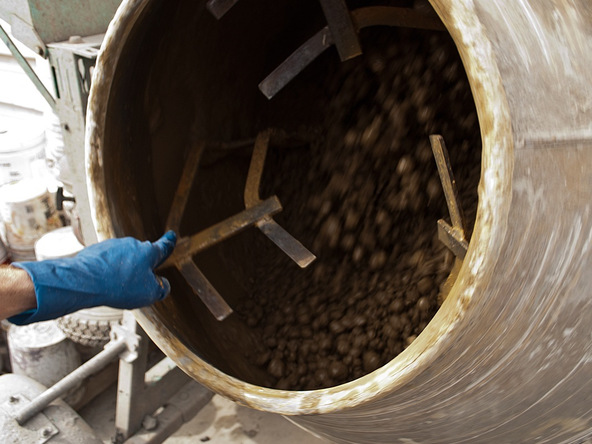
Step 1 – Blend the Dry Ingredients
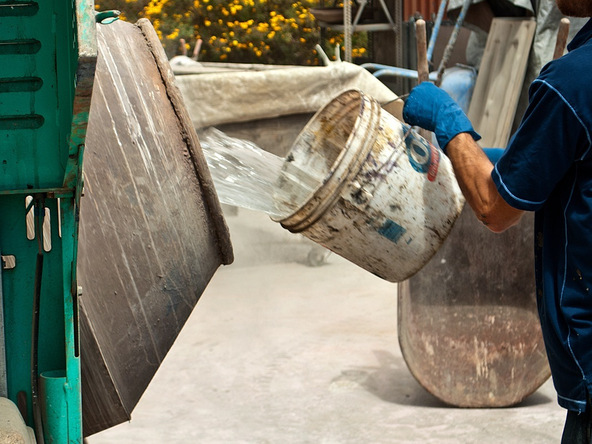
Step 2 – Add the Water
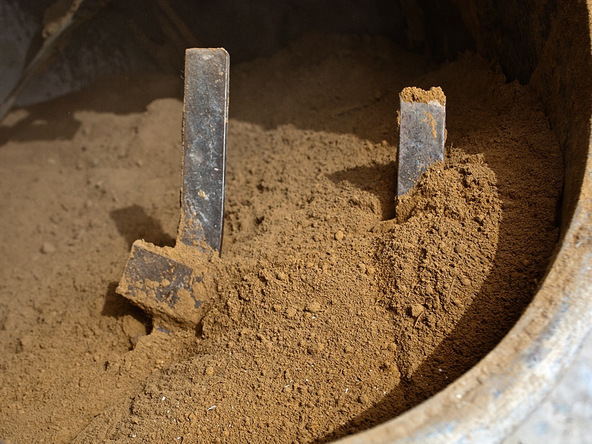
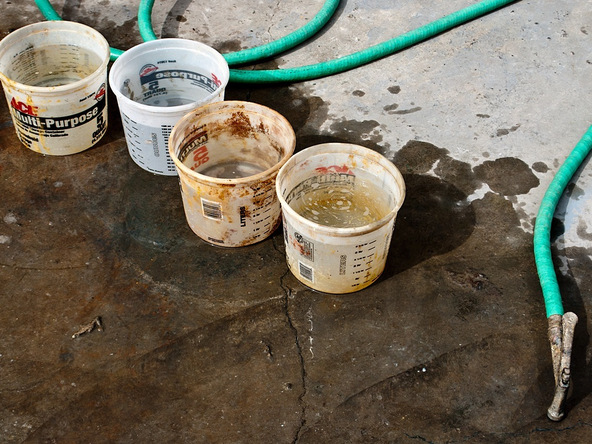
Step 3 – Get the Right Mix Consistency
Previous: Build the Mold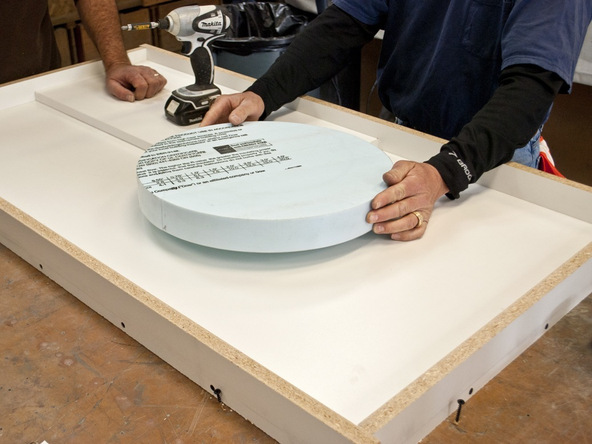
Projects destined for the polishing process are typically cast on melamine-coated particle board, an inexpensive, and readily available choice.
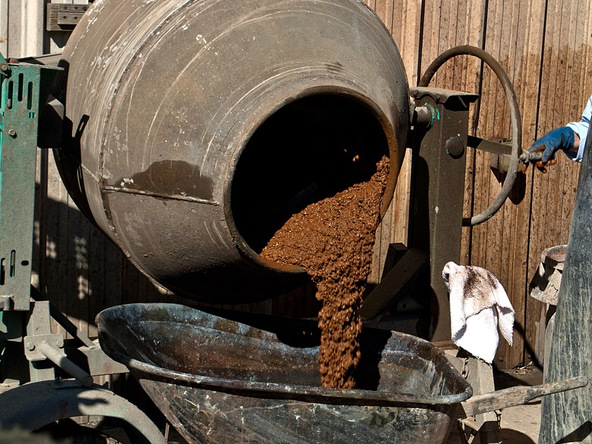
Next: Pour the Concrete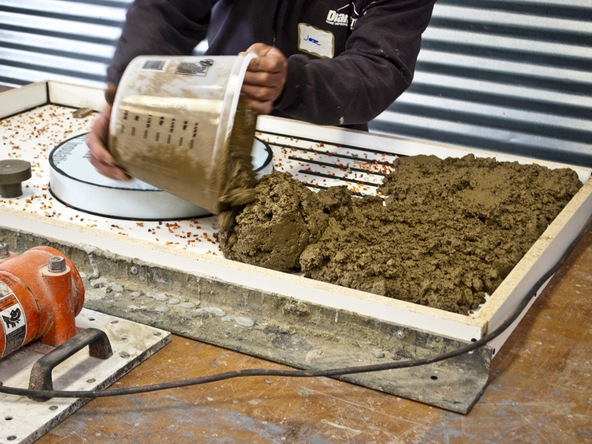
The concrete mix used in this pour was low-slump and required heavy-duty vibration. Add more water to your mix if you don’t have table vibrators like these.