
Pressed Concrete Countertops
FOUR: DEMOLDING AND FINISHING
Roll the casting over onto foam strips before lifting the base off of the countertop to reveal a randomly pitted surface. We take extra caution to protect the edges of our countertop from chipping or spalling at this point.
What You’ll Need
- Rubber Gloves
- Alpha Diamond Hand Polishing Pads
- Alpha Wet Core Drill Bit
Step 1 – Remove Side Walls


Step 2 – Flip the Countertop Over


Step 3 – Cut Hole for Plumbing Penetration

Previous: Structural Backer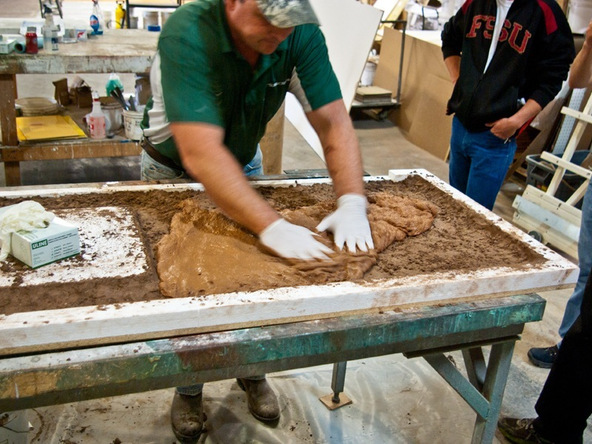
A 5/8″ layer of backer mix is now placed on top of the pressed face mix. The backer mix provides necessary structure to the fragmented face mix.
Next: Slurry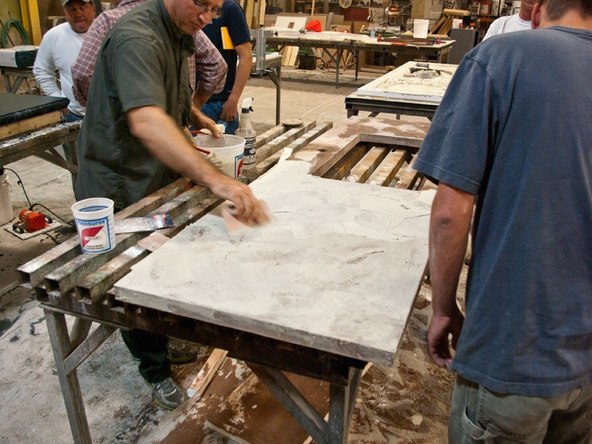
Mix a contrasting-colored slurry with water to a toothpaste consistency. Spread the slurry around the entire surface, pressing it into the larger voids.