Sprayed Glass Fiber-Reinforced Concrete Countertops

One: Forming

Lorem ipsum dolor sit amet, ea pri autem dolore. Ei discere delicata persecuti vis, qui no alia ubique delicatissimi. Cu his platonem mandamus pericula, eam ne patrioque adversarium. His ea ubique recusabo salutatus, vix aeque timeam laoreet cu.

Probatus argumentum in vis, quaeque suscipit qui ea, altera nusquam suscipiantur ne pro. Odio brute id nam, at erant assentior temporibus ius. Integre fabellas reprimique ut mea. Mei augue officiis at, est vivendo percipit elaboraret ut, pro velit mentitum voluptatibus id. No sea veri sadipscing.

Tools
Relevant Parts
  • 3/4″ Melamine
  • Surecrete Foam Forming System
  • Infinicrete Tribeca Fiberglass Sink Forms (2)
  • Infinicrete Square Drain Knockouts (2)
  • Infinicrete Pipe Drain Insert Knockout (2)
  • Infinicrete Stainless Steel Drain Plate (2)
  • Rubber Edge Profile Form Liners
  • 1-1/2″ PVC Pipe (2)
Step 1 – Build Formwork
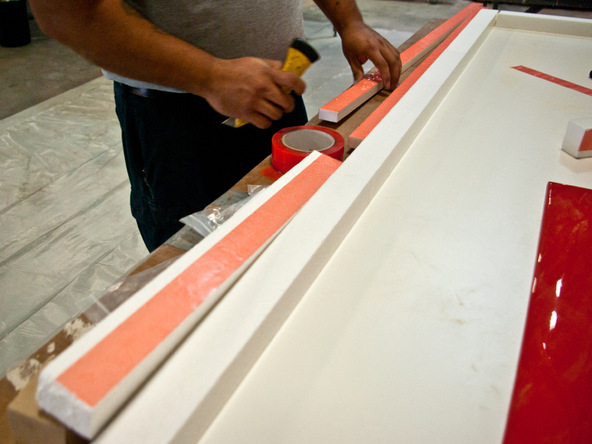
  • Secure the foam walls to the baseboard with double-sided tape.
  • Mark the location of the sink knockouts.
Step 2 – Secure the Sink Knockouts
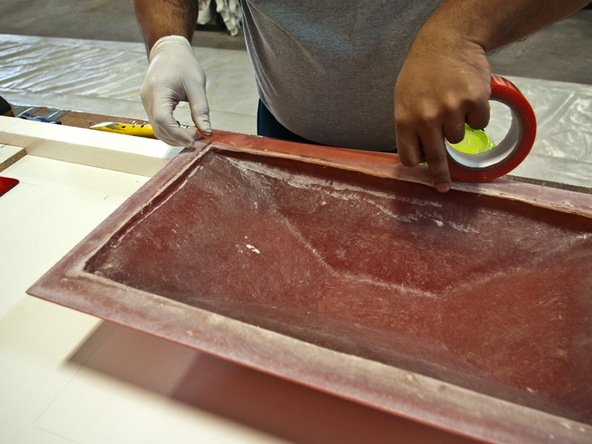
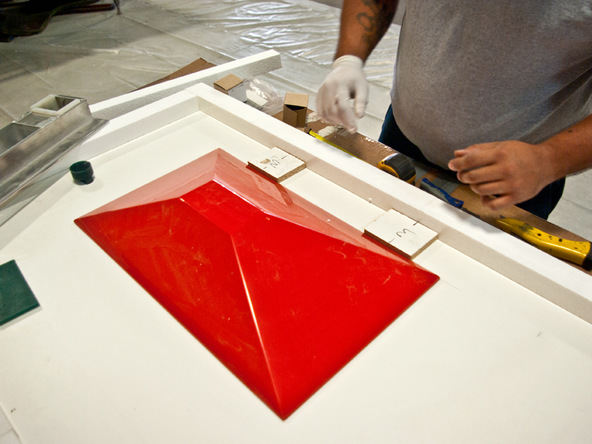
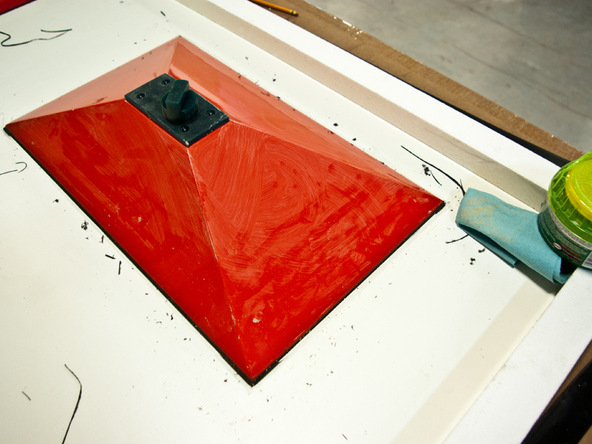
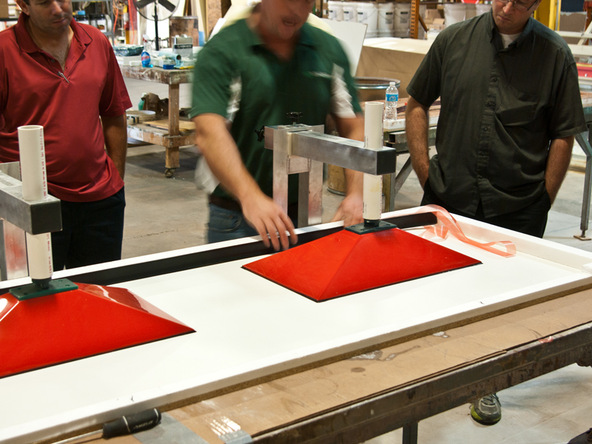
  • The fiberglass sink knockouts can be secured to the form with double-sided tape.
  • Using pre-cut spacers will help make sure the knockout is even with the form walls.
  • Wax the fiberglass knockout to help ensure it releases easily from the concrete.
  • Caulk the edges of the knockout with silicone and use the Corner and Seam-Shaping Tools to get a nice radius.
  • Because of the sharp corners of this particular knockout, it is recommended to use a medium-sized bead so the corners don’t chip out on removal.
Step 3 – Install the Armature
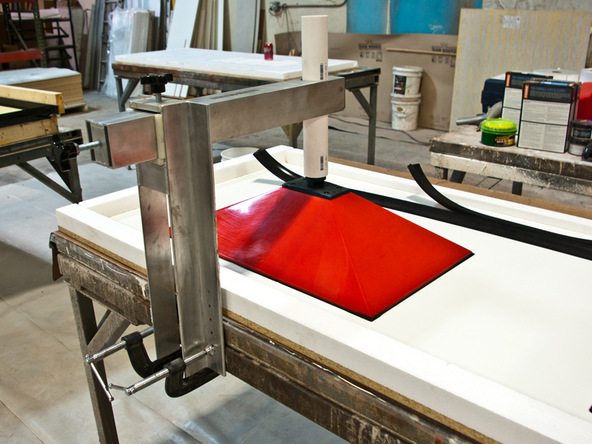
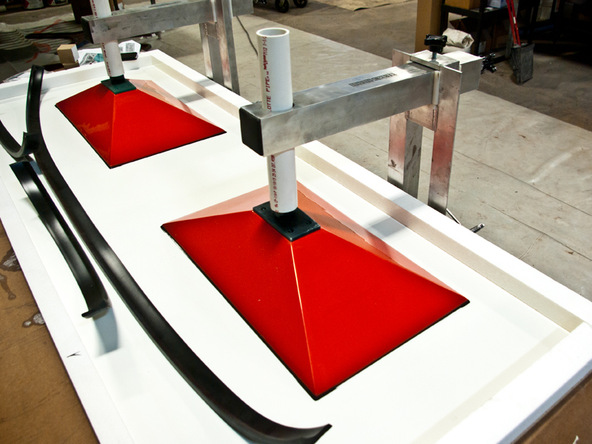
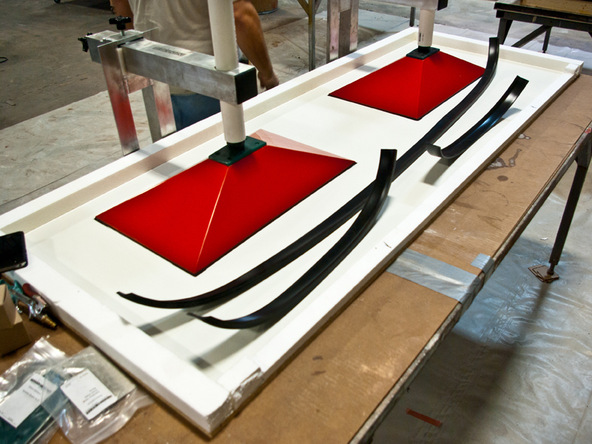
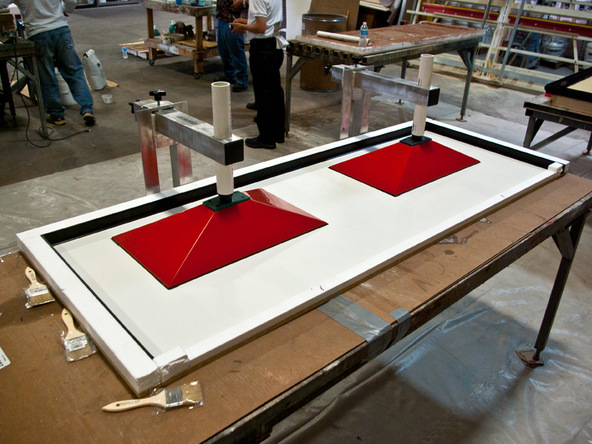
  • The armature is attached to the table to hold a length of PVC pipe in place that will become part of the sink plumbing.
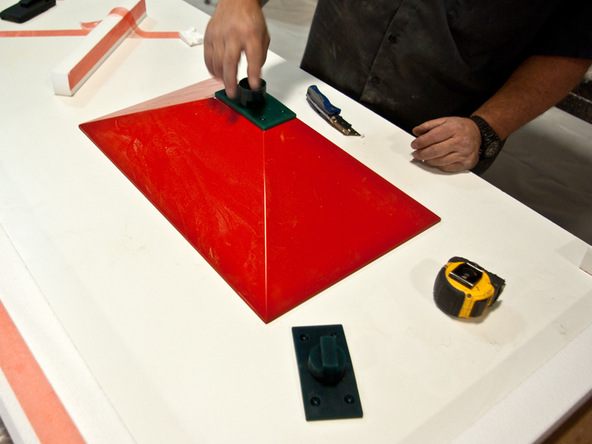
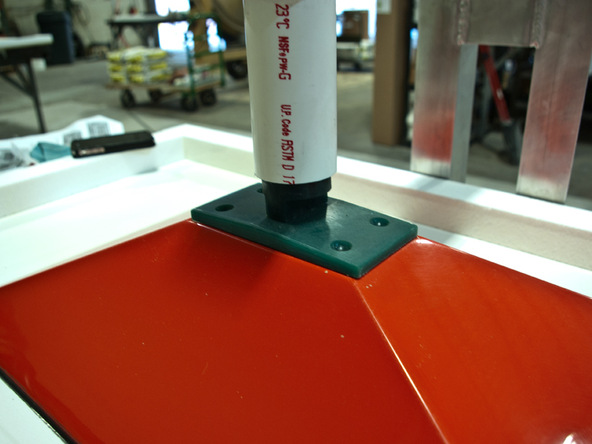
  • The green rubber knockouts are secured to the fiberglass sink form with spray adhesive.
  • The armature can usually be screwed to the formwork or to the casting table. The casting table in this case was metal, so the armature was held in place with clamps.
  • After the armatures are in place, the inner form liners can be attached with double-sided tape.
Step 4 – Rubber Knockout Detail
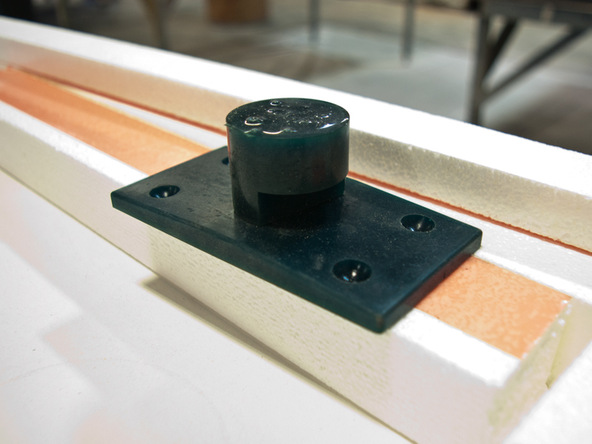
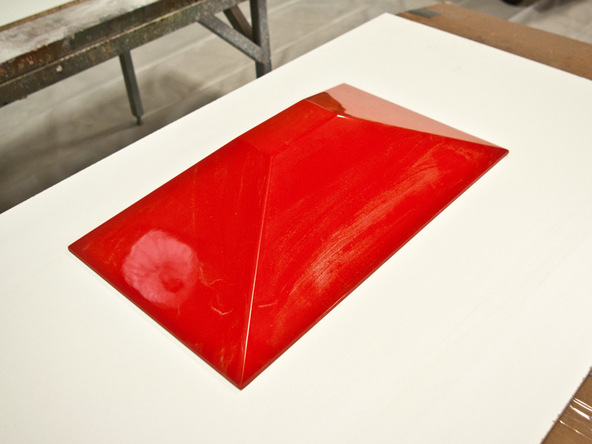
  • There are two rubber knockouts that get attached to the top of the fiberglass sink form.
  • The rectangular knockout is tapered so water flows down into the sink, and it has four divets that will create bumps in the concrete. A piece of stainless steel sits on the bumps and hides the drain.
  • The cylindrical rubber fits into the length of PVC pipe and forms the drain slit.
Step 5 – Attach Rubber Form Liners
  • The form liners are attached to the foam walls with double-sided tape.
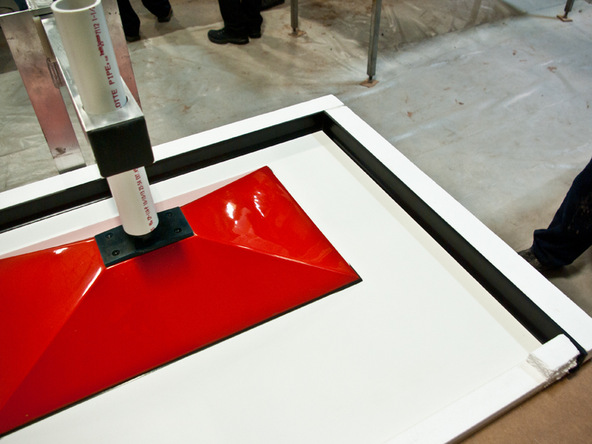
  • Use a small bead of silicone to seal the rubber liner to the baseboard. This will prevent concrete from seeping under the liner and will give the piece nice edges without sanding.
Step 6 – Completed Form Ready to Spray
  • Remove any silicone residue with denatured alcohol and make sure the form is clean before casting begins.
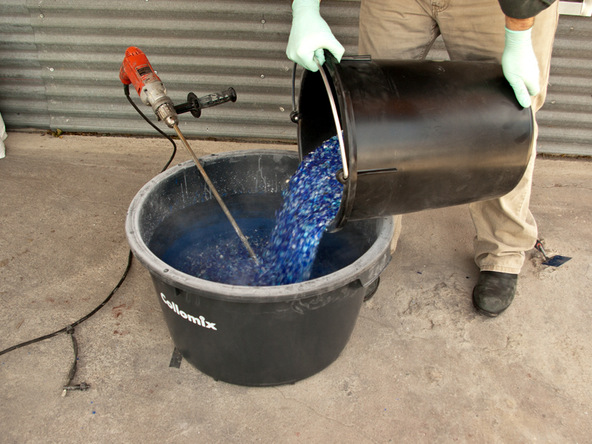
Previous: Mixing

140-163 character description of this project phase. Lorem ipsum dolor sit amet, consectetur adipiscing elit. Donec enim ante, luctus eu enim vel, eleif luctus eu
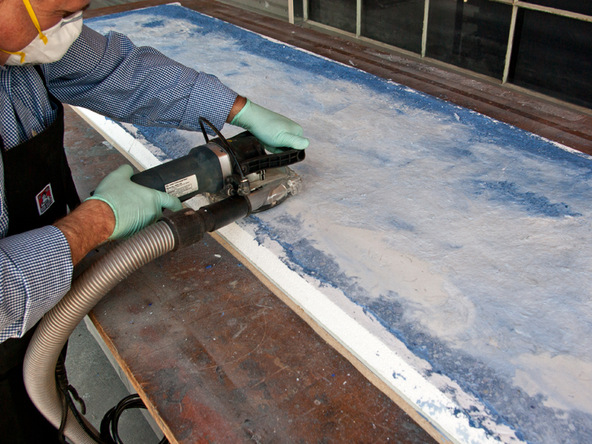
Next: Grinding

140-163 character description of this project phase. Lorem ipsum dolor sit amet, consectetur adipiscing elit. Donec enim ante, luctus eu enim vel, eleif luctus eu