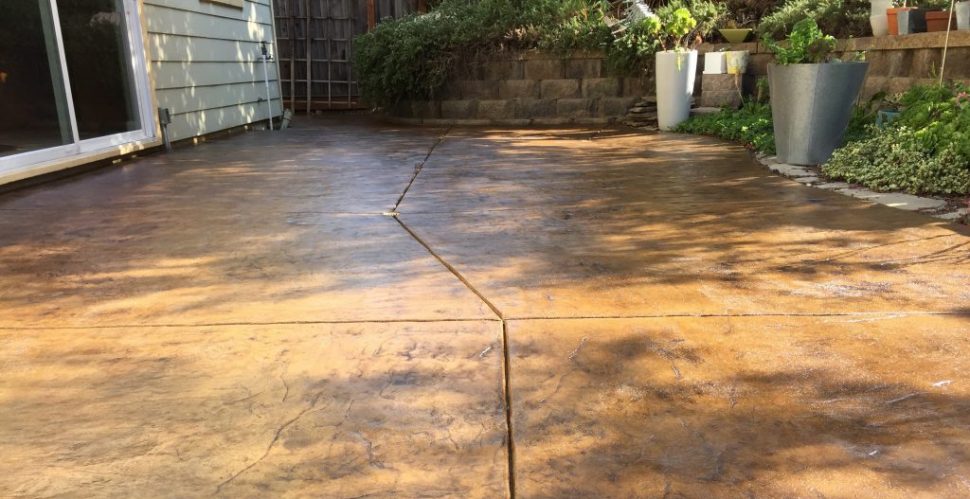
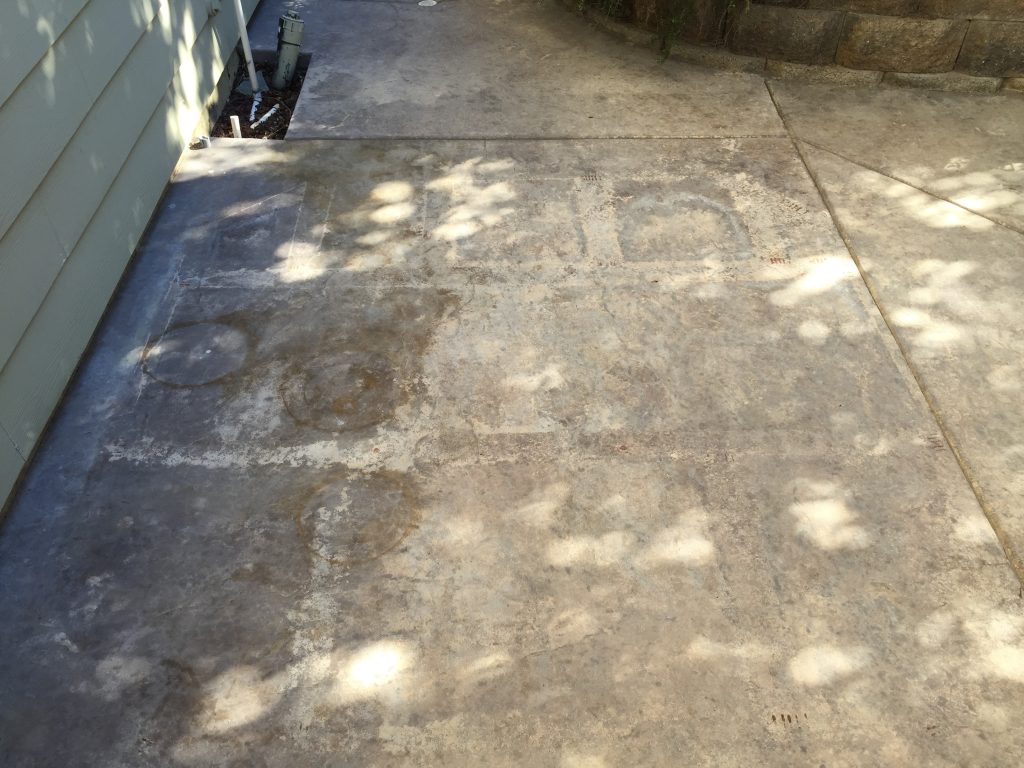
A few weeks ago we decided to restore the concrete stain and sealer on our stamped concrete patio. The acid stain was faded, there was a grid work of rust stains from a long-since removed hot-tub, and discoloration from planters were everywhere. It was high-time this stamped concrete patio received a facelift.
Share This Post
What We Used:
We live in San Francisco’s East Bay community of Martinez, CA, where the intense summer sun takes a toll on decorative concrete stain colors. Maintaining concrete patios, pool decks, and driveways with a professional-grade concrete sealer ensures they stay as beautiful as the day they were poured. Unfortunately our patio and pool deck concrete had been so poorly maintained it would need more than a fresh application of concrete sealer — we’d need to perform a full restoration. This weekend challenge was to restore the 12 year old acid stained and stamped concrete to it’s original condition in two days. Like most of our home improvement projects we had a deadline to meet and this one happened to be a 4th of July BBQ.
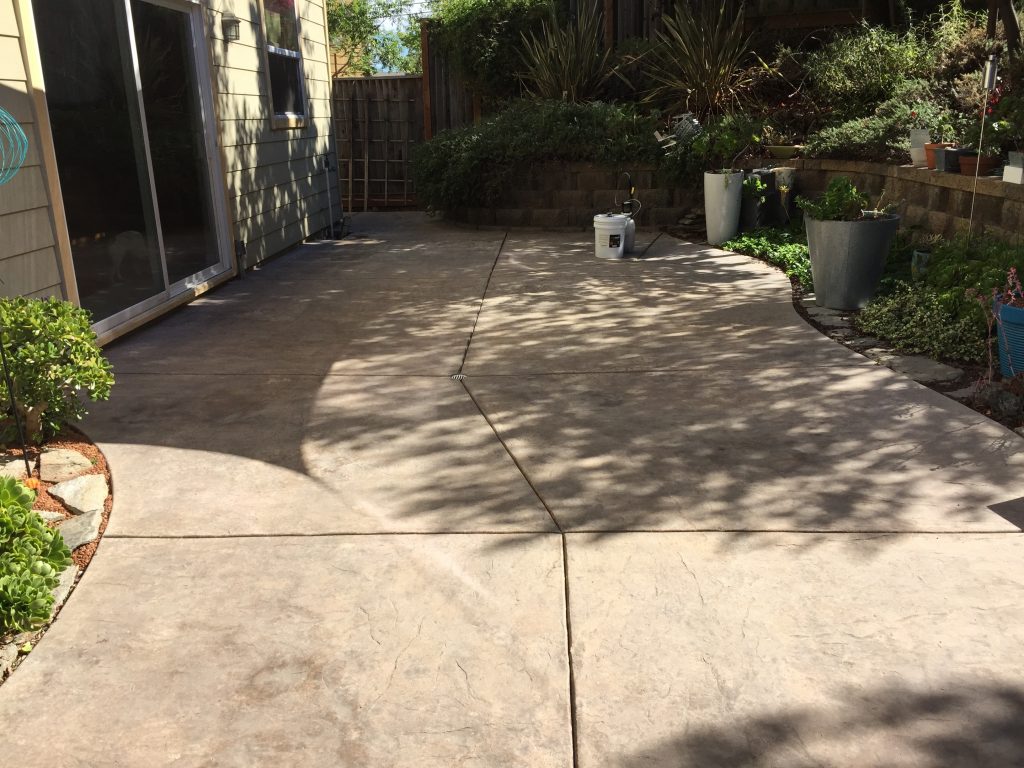
It turns out that two days was more than enough time for this project and the professional-grade products we used gave us beautiful results at a great price. The total cost for a 600 square foot patio was just over $400.
Step 1 — Deep Clean and Prep the Concrete
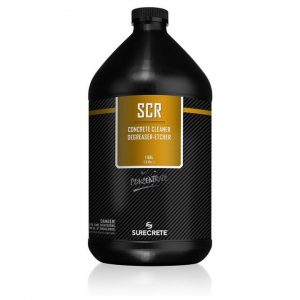
Preparing the surface of our concrete patio before staining and sealing was the most important part of the project. If the concrete isn’t adequately profiled before finishing, neither the stain or sealer will properly bond. Most projects will require pressure washing the concrete surface or chemically etching it. If your concrete requires a chemical etch Surecrete has a product called Super Concrete Renovator (SCR) which will profile the concrete surface to ensure concrete stain colors and sealer evenly penetrate to bond with the concrete.
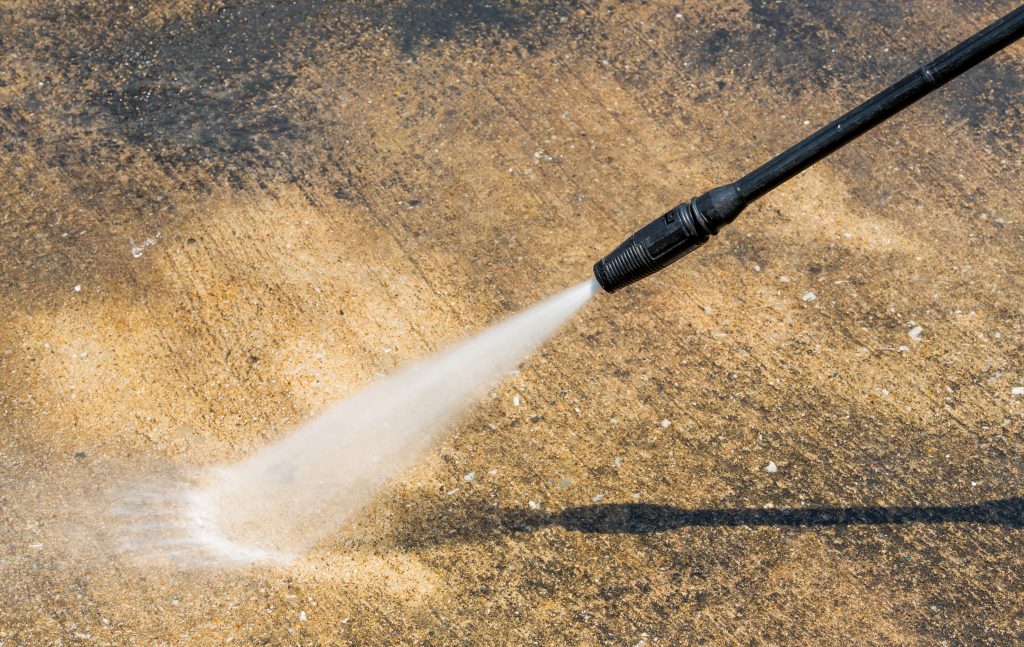
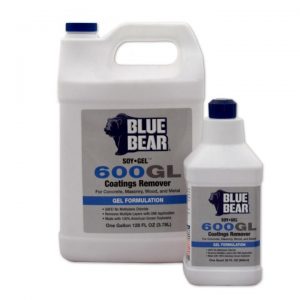
Since the original concrete sealer on our patio had long since weathered away and the concrete was heavily profiled, we opted to forgo etching the concrete and gave the patio a deep cleaning with a 4,000 psi pressure washer. The 4,000 psi machines can quickly remove years of worked-in dirt and stains while also stripping away paint droplets left behind by a messy painter. For a few stubborn paint spots we relied on the environmentally-friendly soy-based paint stripper 600GL by Blue Bear.
It took two of us a little more than two hours to entirely prep a 600 square foot concrete patio.
Step 2 — Choosing the Perfect Concrete Stain Color
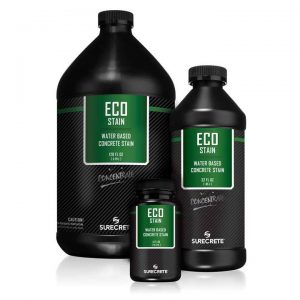
We decided to use EcoStain concrete stain by Surecrete because it’s environmentally-friendly, non-caustic, plant-safe, and pet-safe. Using Ecostain saved us time and gave us greater control of finished results than a traditional concrete acid stain. It doesn’t require a neutralization bath like acid stains do and we didn’t have to protect the plants from acid stain’s caustic overspray. Once EcoStain has been applied you simply allow it to dry before moving ahead with sealer.
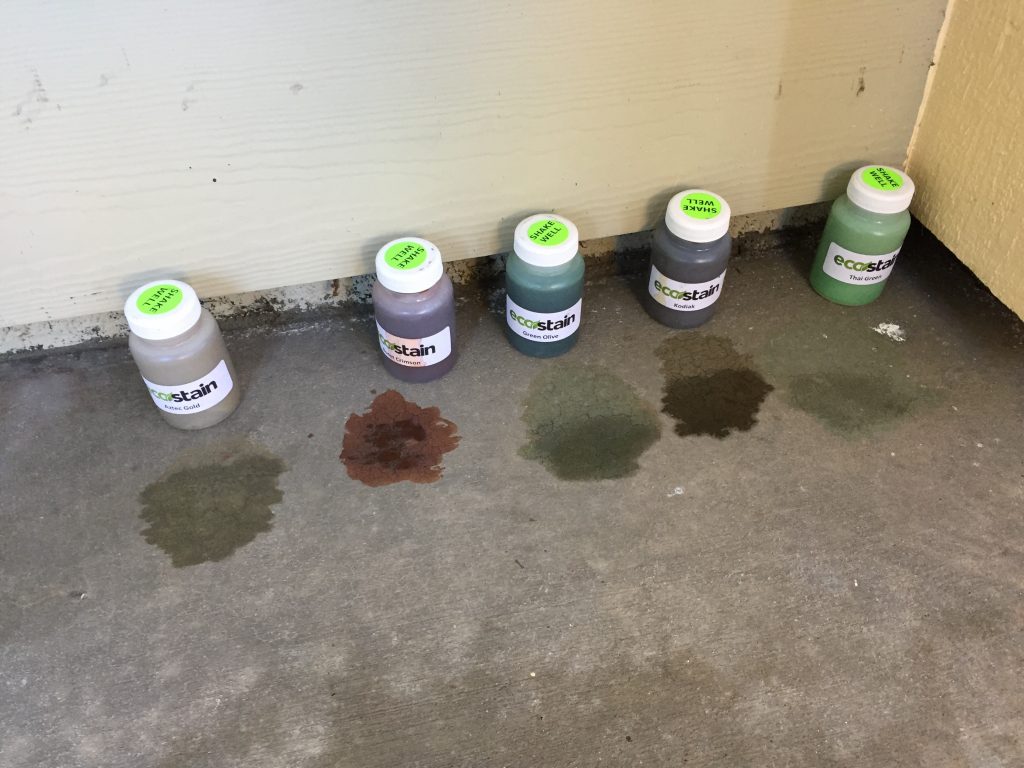
Selecting the right concrete stain color for our project was easy. We tested several different colors in an inconspicuous corner of the patio using Surecrete’s handy 4oz EcoStain samples to ensure there wouldn’t be any color surprises. Kodiak EcoStain color was the winner for how well it masked the rust discoloration and pinkish tones of the faded concrete.
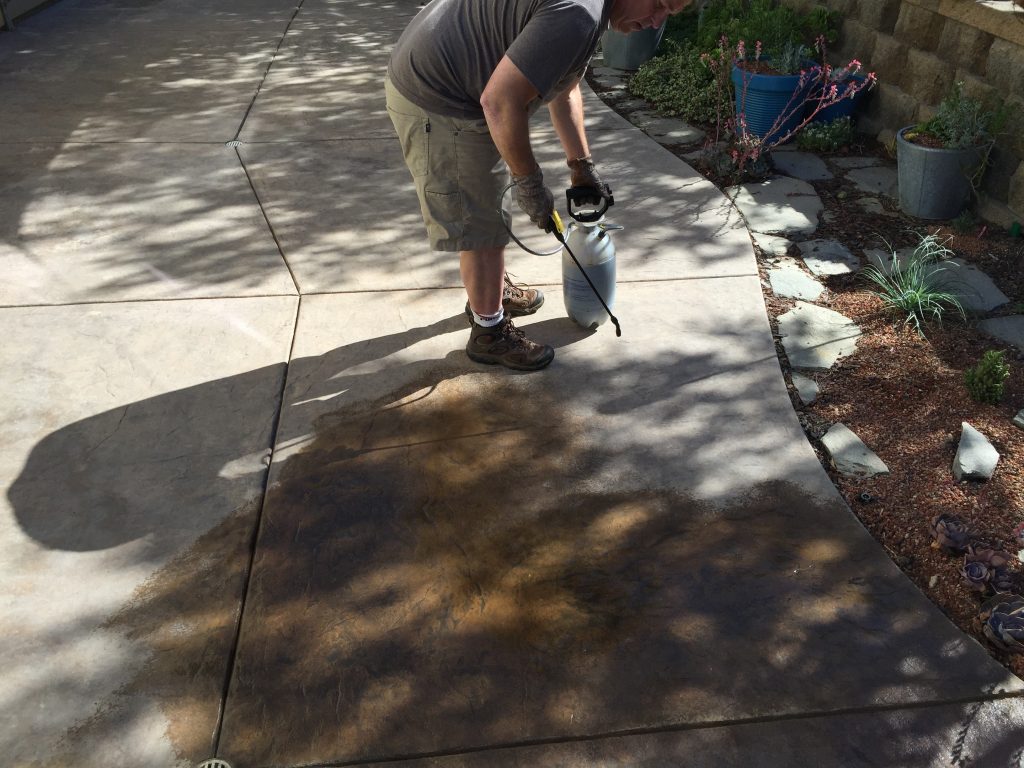
Step 3 — Apply the Concrete Stain
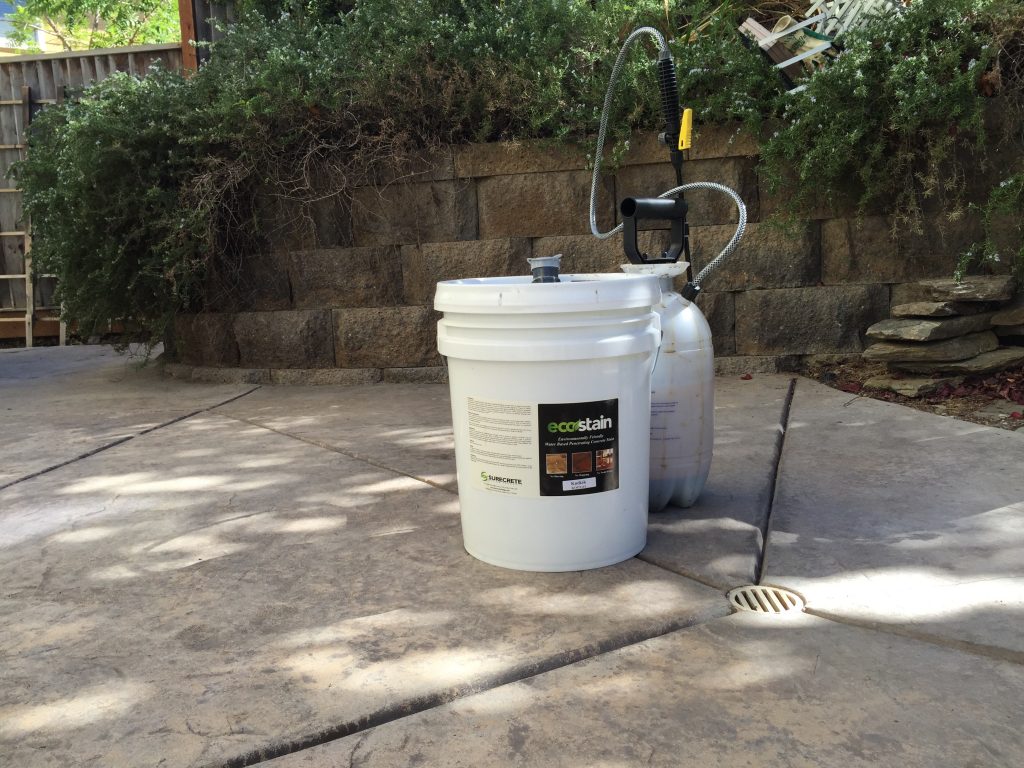
Allow 2-3 hours for the concrete to dry after the pressure-washing before applying the stain. A pump-up garden sprayer and rag for soaking up spills are the only tools required for this step. We used the Ecostain full-strength to achieve the richest possible color and found that spraying in an overlapping figure “8” pattern created the most natural finish. It took less than an hour and 3 gallons of Kodiak EcoStain to stain the entire 600 square feet patio.
Step 4 — First Coat of Concrete Patio Sealer
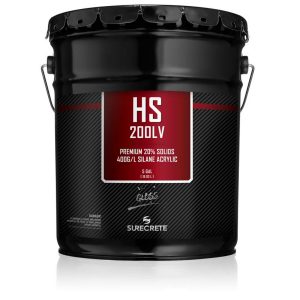
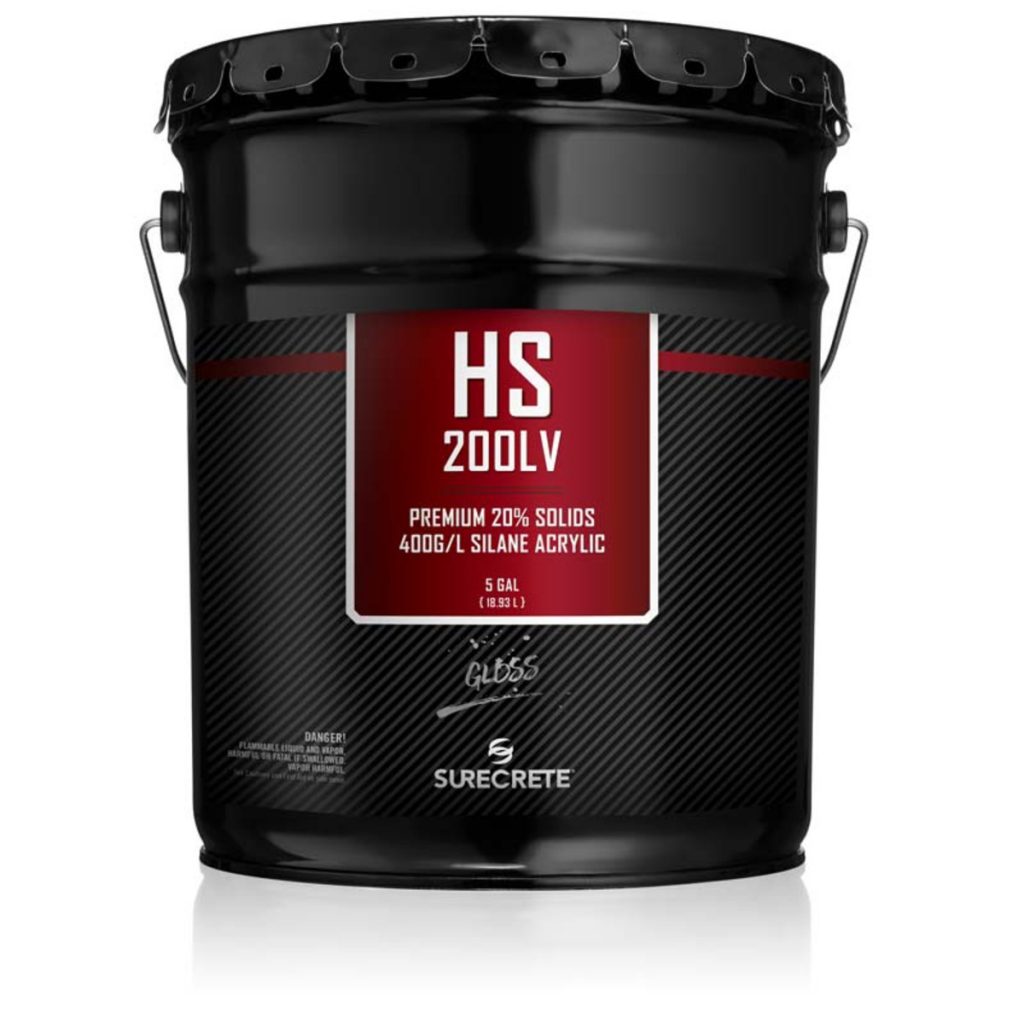
We started sealing the concrete early on Sunday morning to avoid rolling the sealer on top of hot, sun-baked concrete. We chose Surecrete’s HS 200LV Clear Concrete Sealer in a satin finish, but if you want more shine it’s also available in a gloss finish.
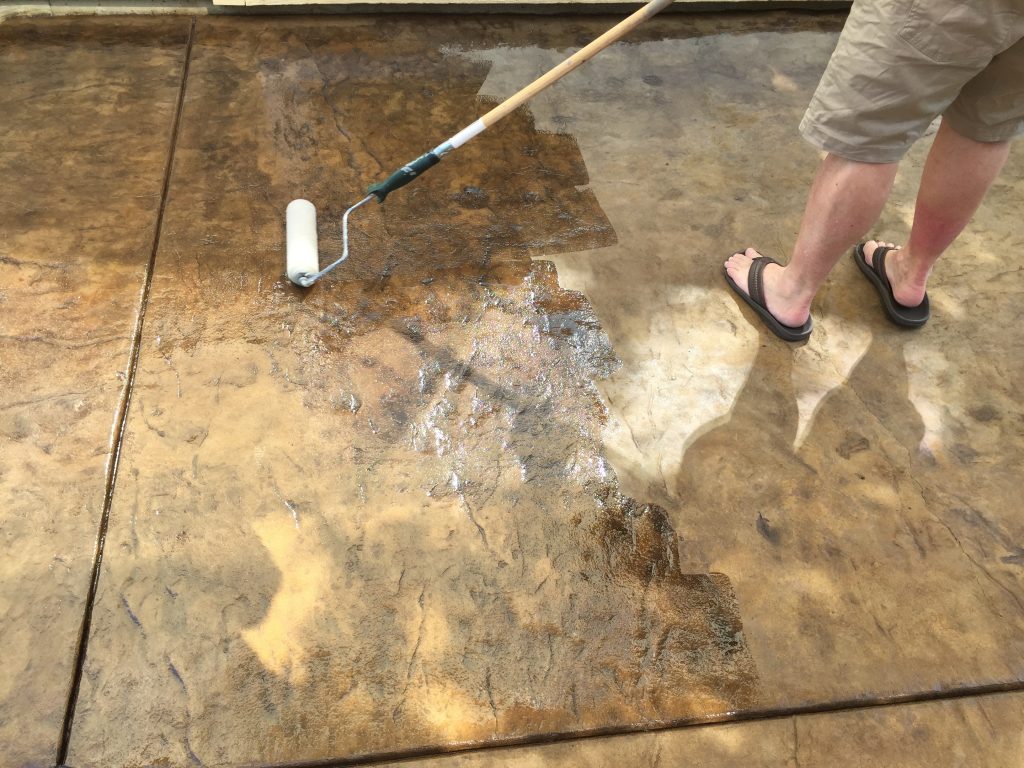
HS 200LV Sealer is considered a “wet-look” concrete sealer because, once dried, the sealer retains a deep color-enhancing look; as if it were wet. We used a 1/2″ nap roller for solvent based coatings on a standard 9″ roller with a 60″ wooden handle to place the sealer. We did our best to avoid roller marks but discovered that as the sealer dried they quickly dissipated and were barely noticeable once the first coat was completely dry.
The first coat of sealer only took 1-1/2 hours to put down and we used a little over 2-1/2 gallons of the HS 200LV concrete sealer.
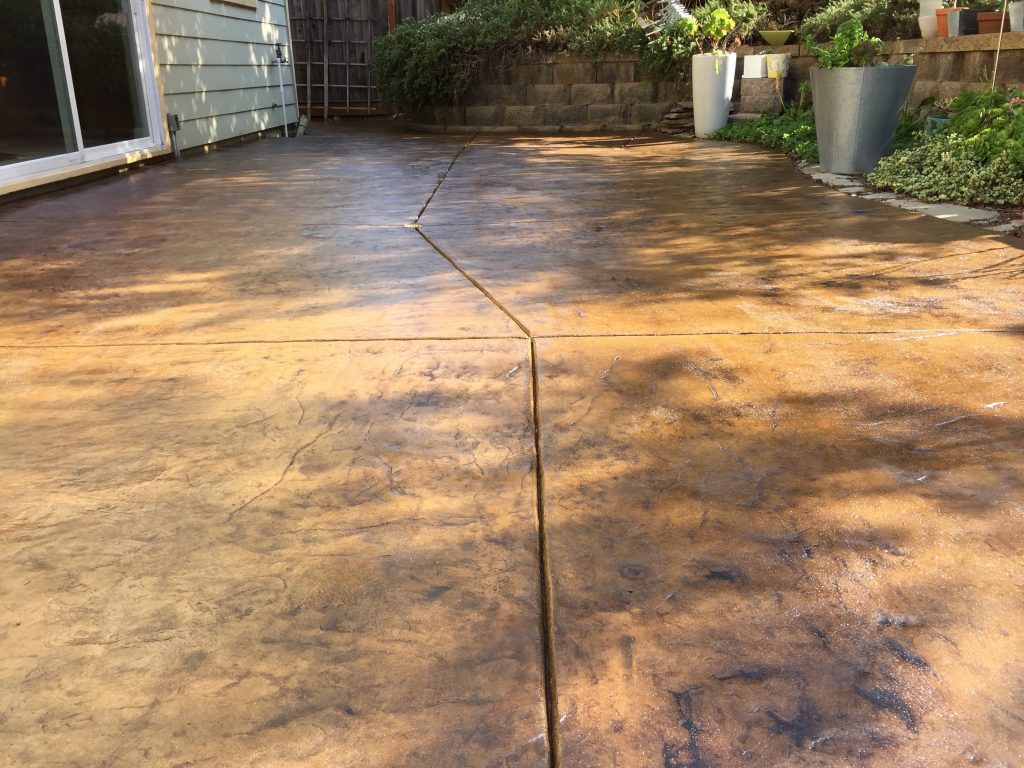
Step 5 – Concrete Sealer Finish Coat and Anti-Slip Sealer Additive
Allow the first coat of sealer plenty time to fully dry before continuing to the finish coat. We waited close to 7 hours until the hot afternoon sun had passed before resuming work on our patio.
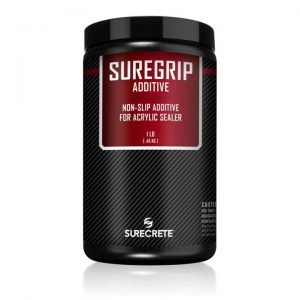
For this project we decided to add SureGrip anti-slip additive to the finish sealer coat to give our patio as much traction as possible. We mixed the SureGrip into the HS 200LV according to Surecrete’s instructions and started rolling the final coat around 5:00pm Sunday evening. By 7:00pm we were completely finished, cleaned-up, and ready for tomorrow’s BBQ.
What We Used:
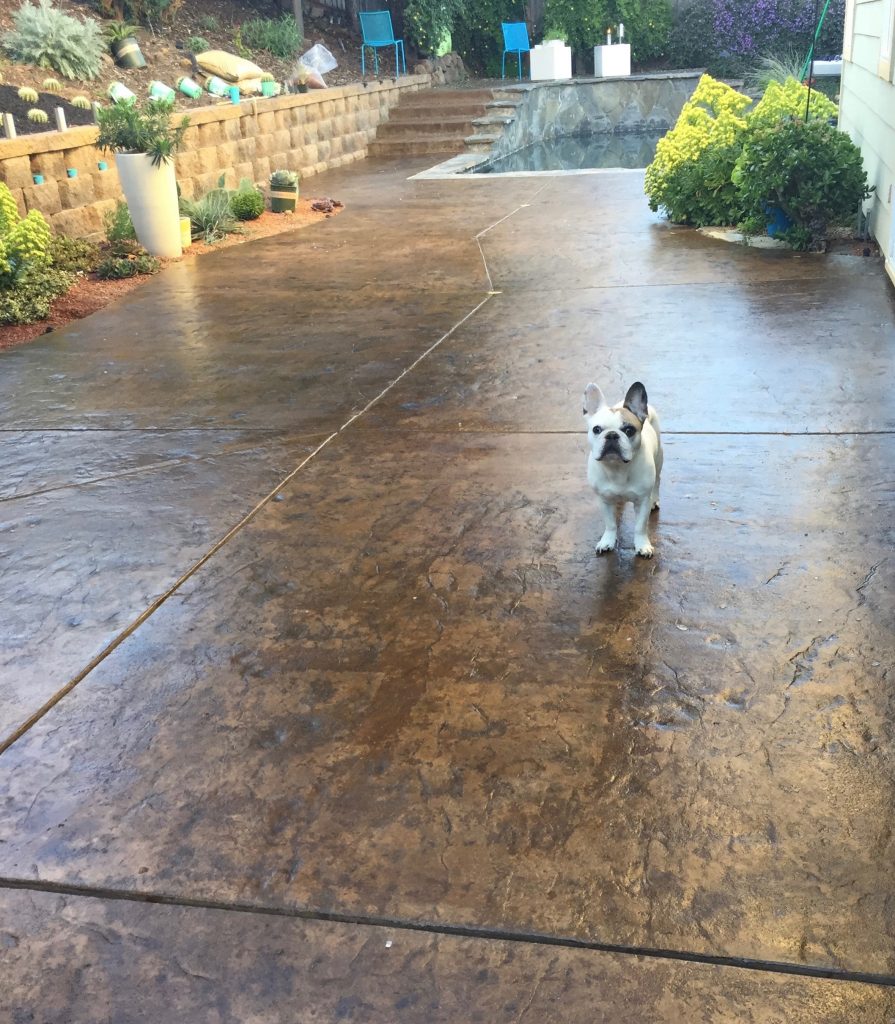
Mission accomplished and pet approved!
600 square foot patio, pressure-washed, stained, and sealed in less than 48 hours!

