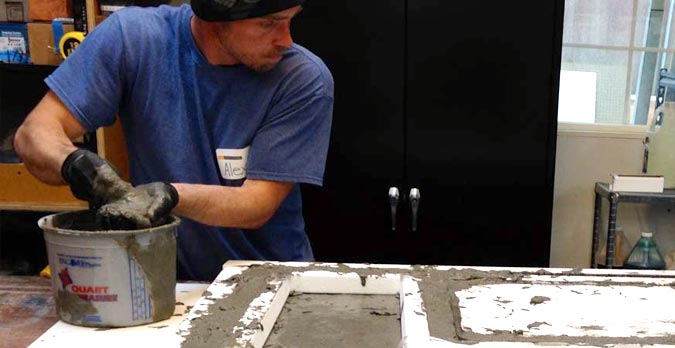
Thank you to everyone who participated in the Fiber-Reinforced Concrete Countertop Casting Demonstration. It was great having so many of you there with a lot of really good questions. We can’t wait to see you in more of the Saturday morning demonstrations.
Share This Post
For those who couldn’t make it to this weeks concrete countertop casting session, we’ve pulled together a few photographs and videos from the class so you can follow along.
In this weekly series of demonstrations we’re using many of the innovative concrete countertop products available at Concrete Exchange Online Store. Prior to this week we started the project by building the countertop form for a set of cabinets at our new store in Berkeley, CA. And then cast the countertop using traditional concrete casting methods and Charcoal CX Pro-Formula Concrete Countertop Mix. This weekend we’re using SureCrete D-FRC Casting Mix to make the same counter at 1/3 the weight. What does the D-FRC stand for? Decorative Fiber Reinforced Concrete, when choosing a name for the product group we settled on the one that conveyed the mix was a fiber-reinforced concrete for decorative precast projects.
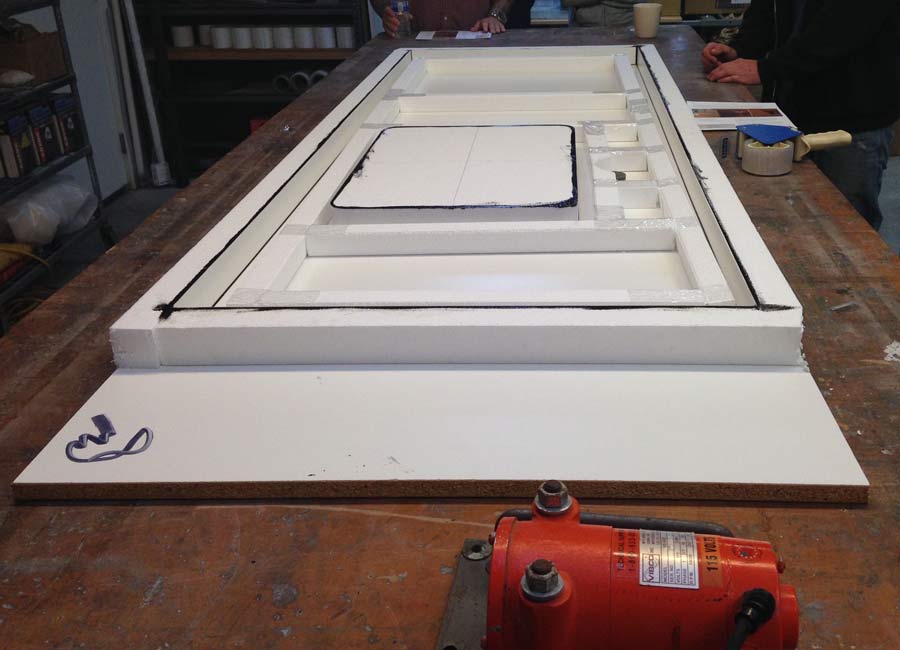 A well constructed mold is critical to success.
We started off the session with a discussion of the mold that was constructed on a 3/4″ thick melamine base out of 2″ Concrete Countertop Forms with an interior form made of 1-1/2″ Concrete Countertop Forms. The casting table was equipped with a table vibrator to help minimize air pockets in the concrete while casting.
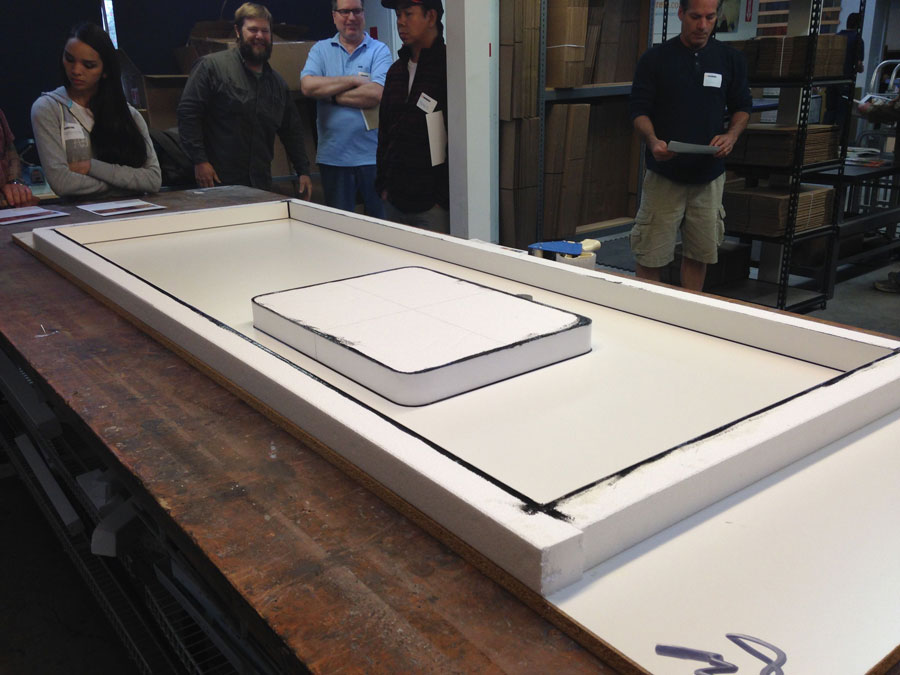 Here we go, all ready to pour.
The 2″ form has been sealed with 100% silicone window and door sealant and 2″ thick sink knockout was has been placed to create an opening for the under-mount stainless steel by Elkay. For more details on constructing the mold for this concrete countertop, be sure to check out the mold making demonstration post here.
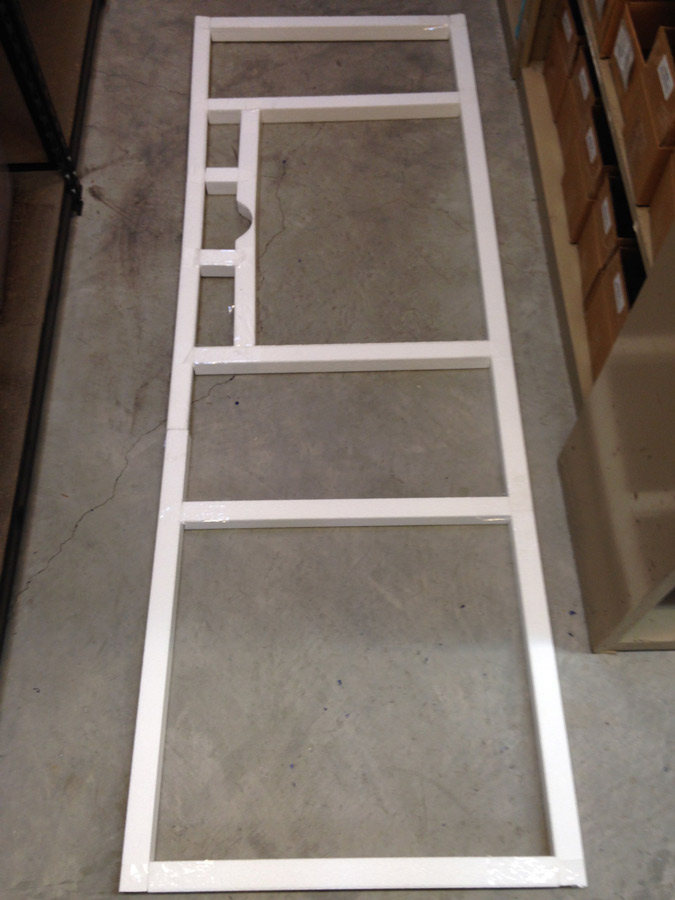 Pre-assembling the interior form helps the casting run smoothly.
This interior form will be placed after the initial 1/2″ of SureCrete D-FRC Concrete Mix is placed in the bottom of the 2″ concrete countertop form. It was made out of 1-1/2″ concrete countertop forms taped together with standard packing tape to hold it’s shape while handling. Clay discussed the entire form assembly in the following video.
In this video Clay talks about the form construction and takes questions on how the interior form will be used to shape the the underside of the concrete countertop while providing adequate bracing to prevent distortion while the concrete is being placed.
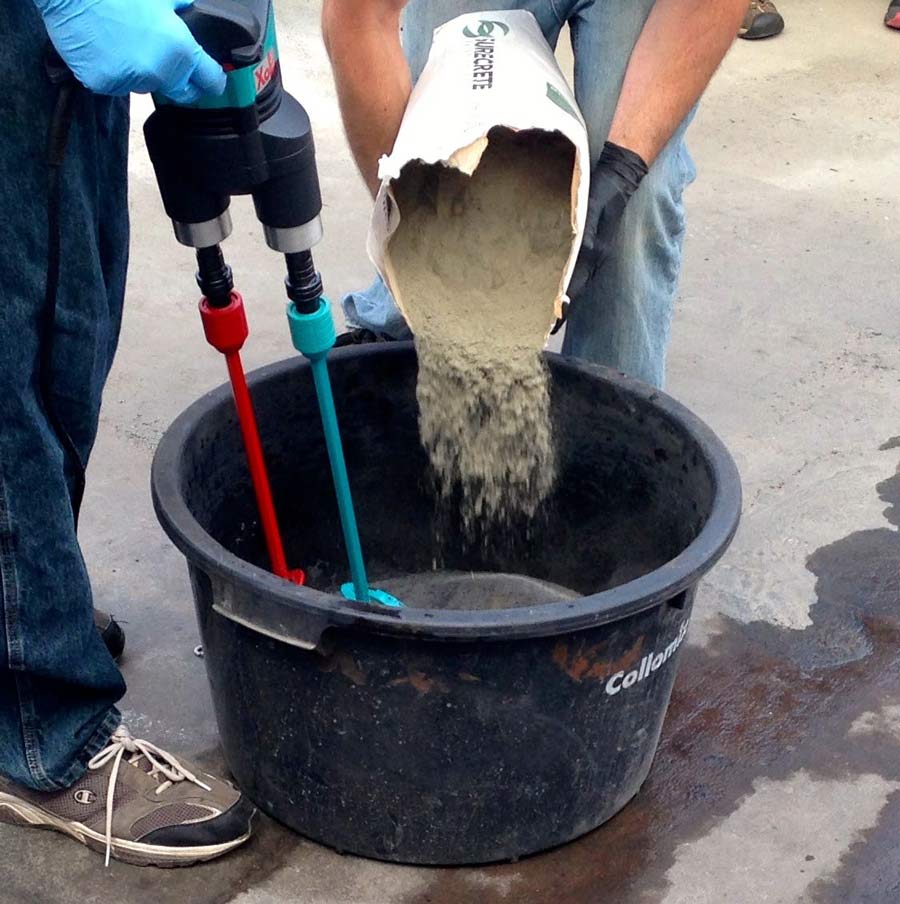 Add SureCrete D-FRC to the SureCrete Modifier.
The double-paddle Collomix Xo55 Duo-Mixer is our favorite tool when it comes to mixing any of the SureCrete Xtreme GFRC Mixes or SureCrete’s D-FRC Concrete Mix. The two paddles rotate in opposite directions and pull material from the bottom upward with surprising ease and balance but the we were most impressed by how quickly we could thoroughly blend 100 pounds of the dense fiber-reinforced concrete mix.
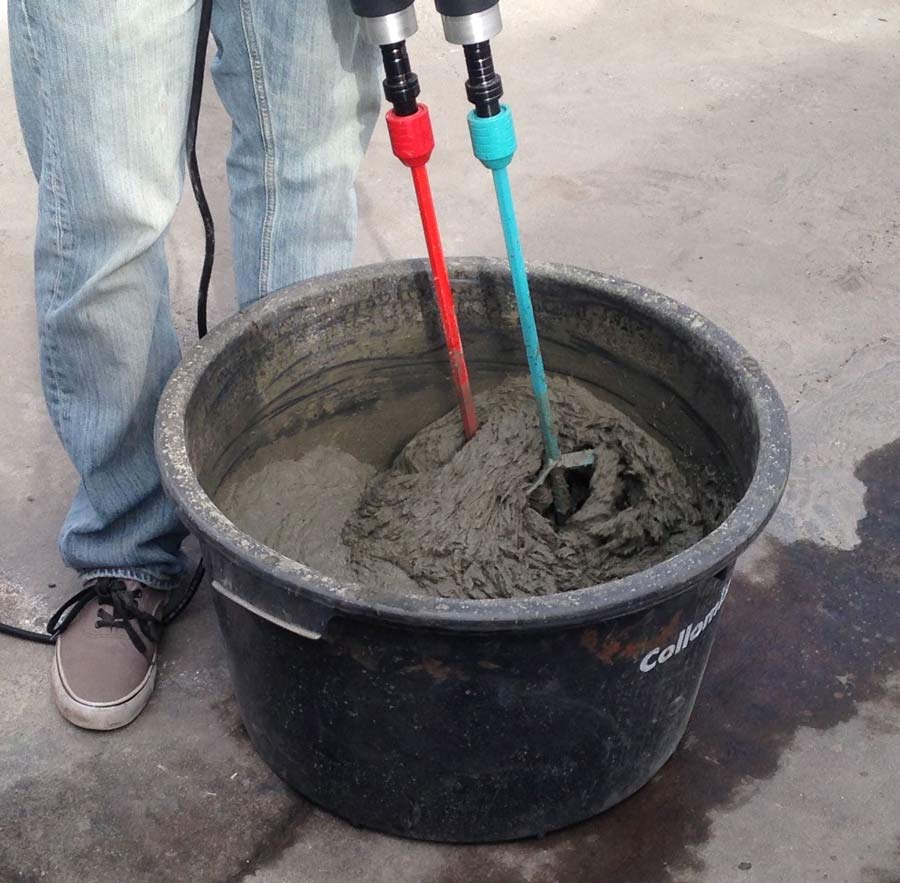 Thorough mixing is a key to success.
100 pounds of SureCrete D-FRC Casting Mix was blended with 2 gallons of SureCrete Xtreme Modifier and 2 packets of Stone SmartColor. The addition of Stone color made the concrete slightly darker and gave it a cooler tone. To see a picture of this color, follow this link to a concrete color sample that was prepared using the same method. For a batch this size we used the heavy-duty 17 gallon mixing bucket from Collomix.
During the product demonstration we also spent some time explaining the distinction between the SureCrete D-FRC Concrete Mixes and SureCrete’s Xtreme Series Precast Mixes. In short, the only difference between the two is COLOR. SureCrete D-FRC mixes are produced with grey portland cement and SureCrete’s Xtreme Series mixes are produced with white cement.
Here is a short video clip we shot that’ll give you a pretty good idea of the mix consistency. While the heavy duty mixer we’re using isn’t entirely necessary for this mix, it definitely speeds-up the process.
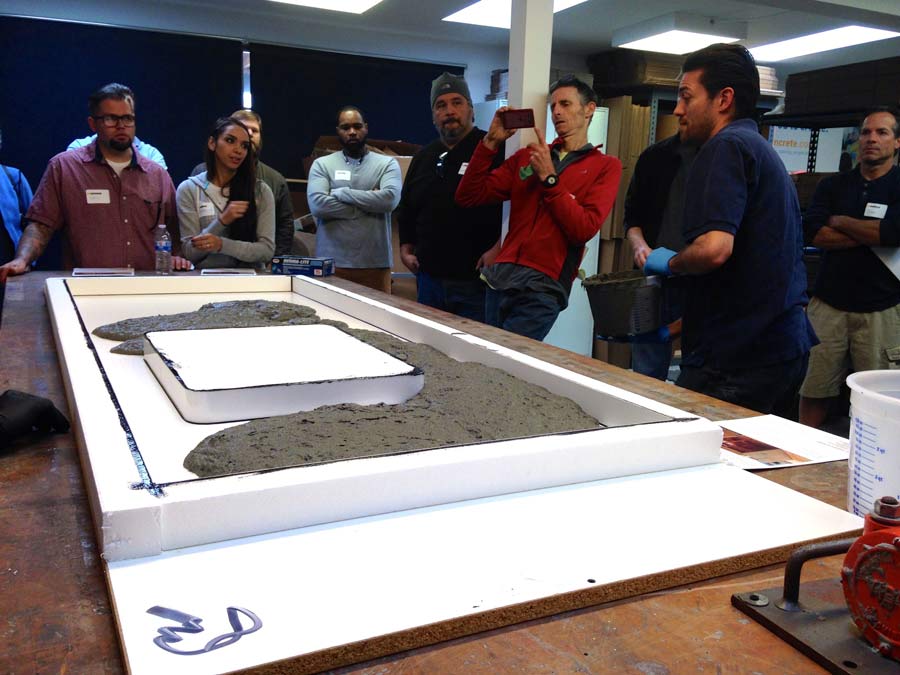 Place the D-FRC before turning the vibrators ON.
1/2″ of SureCrete D-FRC Mix is placed into the bottom of the mold before the Vibco Table Vibrators are turned on. The concrete mix consistency should be a little on the runny side to ensure that as many air bubbles as possible are driven out of the concrete while vibrating.
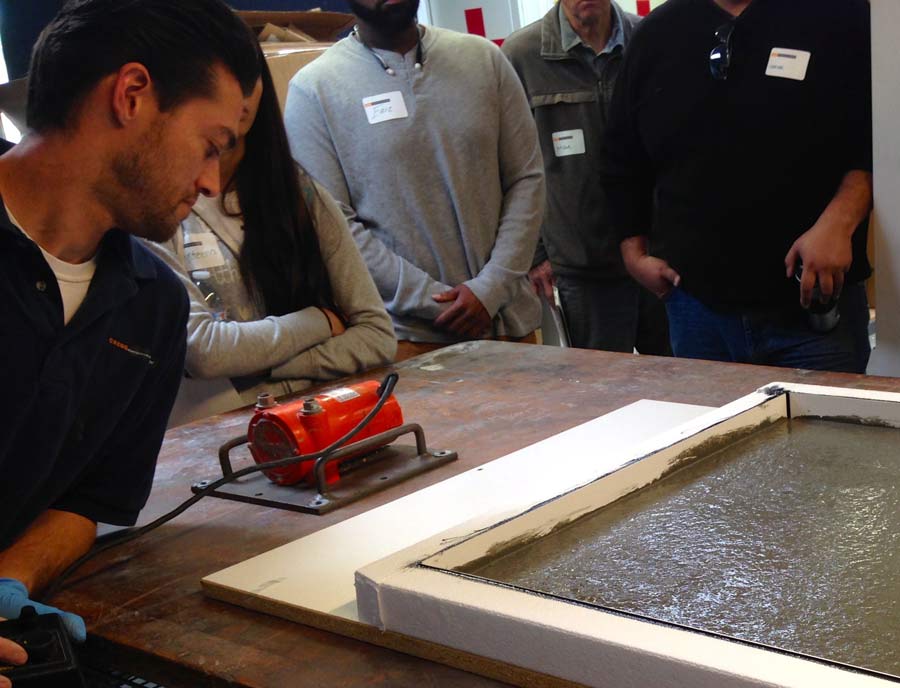 Fill the bottom of the mold first.
The Vibco US450T Table vibrator is turned on for roughly 5 minutes once the concrete is placed in the mold to help level the concrete in our countertop mold and drive trapped air from the mix. The vibrator is plugged into a variable speed controller that allows you to modulated the frequency and amplitude of the vibrators while casting the concrete. We started vibrating the concrete pour on a high frequency/low amplitude to liquify the concrete and then dial the controller to a low frequency/high amplitude setting force the air out of the mix. This process takes about 5 minutes to complete.
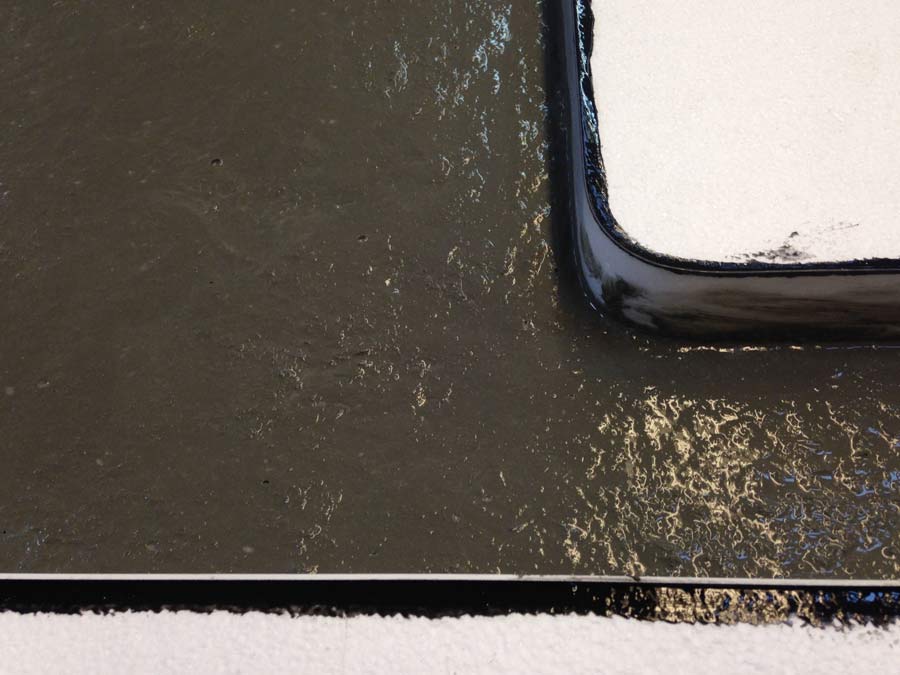 Keep vibrating until all the air is driven out.
As vibrators shake the casting table air is forced out of the concrete. When the small bubbles stop appearing on the surface, we turn the vibrators off and start wiping concrete mix up the mold sides to prevent the appearance of unwanted cold joints or seams on the edge profile of our concrete countertop.
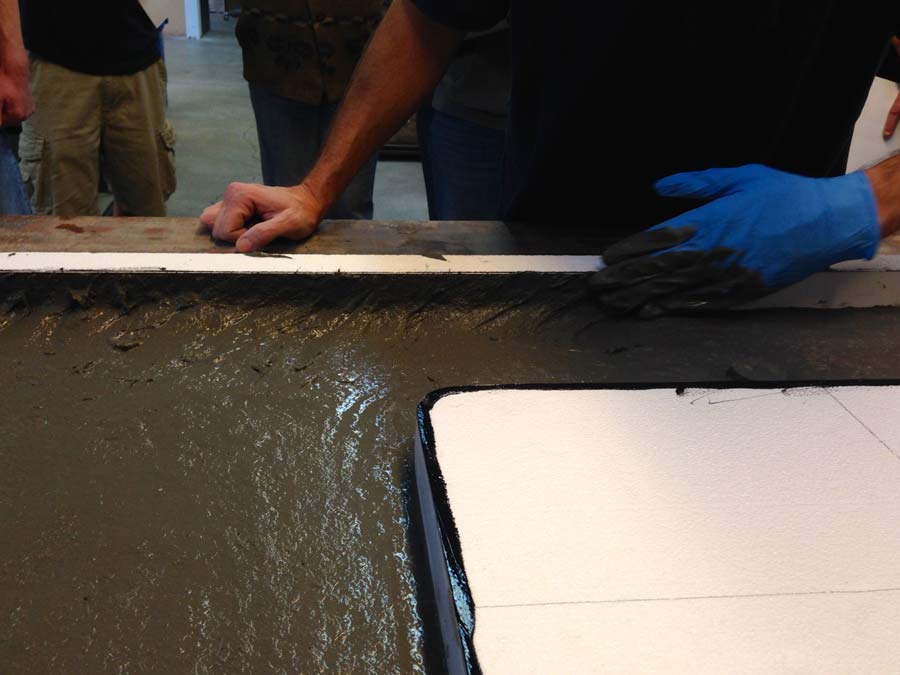 Eliminate seams and cold-joints with this technique.
Gently pull concrete up the sides of the mold. Don’t worry if the concrete sags back to the bottom of the form because, in just a few minute, we’re going to place the interior mold and pour an additional 1-1/2″ of concrete mix to create a sturdy profile around the entire perimeter of the countertop.
Take a 20-30 minute break after all the side walls and sink knock-out have been brushed with a thin coating of the concrete mixture. This allows the concrete to firm-up a little without drying out and will help minimize the amount of “ghosting” that appears on the finished face of the countertop.
What is ghosting? Ghosting is a term we use to describe surface color and tone variations that appear on the finished face of the concrete. While all concrete experiences this phenomenon, to some degree, we try to minimize grid or pattern ghosting that might be caused from placement of the interior form while the concrete mix is still fluid.
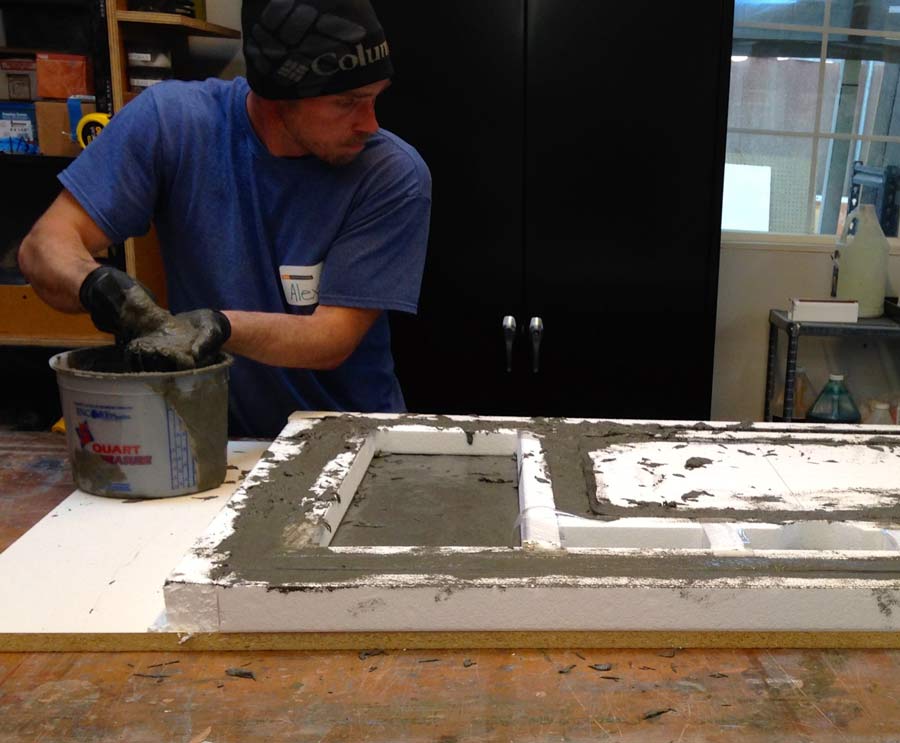 Almost finished with this pour and it’s looking good!
After the interior form was placed another batch of SureCrete D-FRC concrete was mixed to fill the 1-1/2″ perimeter wall around the entire concrete countertop.
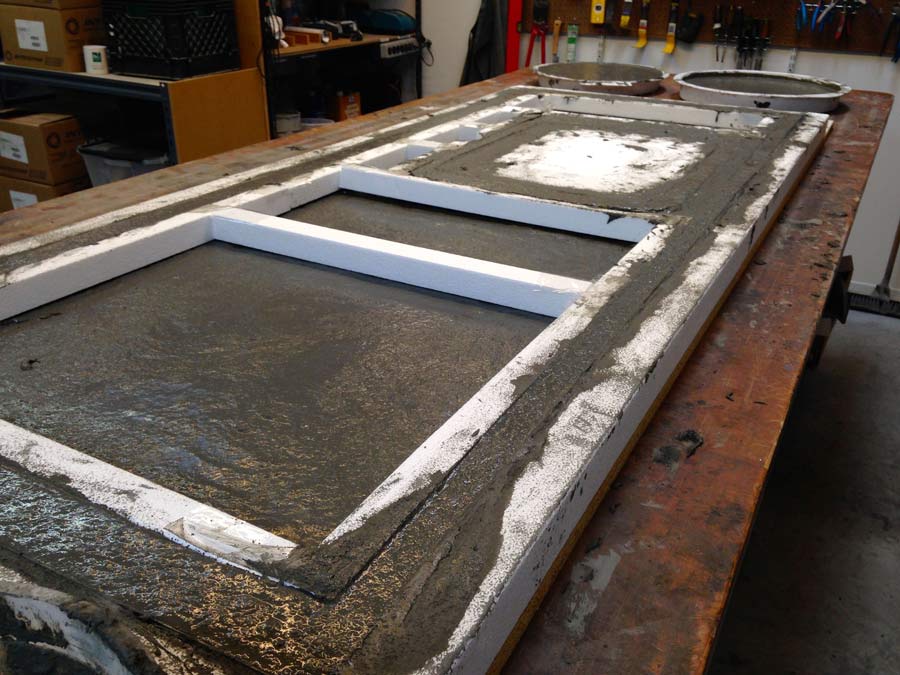 Fill the form ALL the way to the top.
When filling the interior form it’s important to entirely fill the form and never allow the concrete level to be below the exterior form wall height. Low spots in the casting will appear as thin areas on the edge of your countertop and are very difficult to fix.
This is where we wrapped up today’s demonstration, but we will resume this concrete countertop project, next week, when we’ll continue by etching this countertop with SureCrete Super Concrete Renovator and seal it with SureCrete’s XS-327 Polyurethane Concrete Sealer
Share This Post

